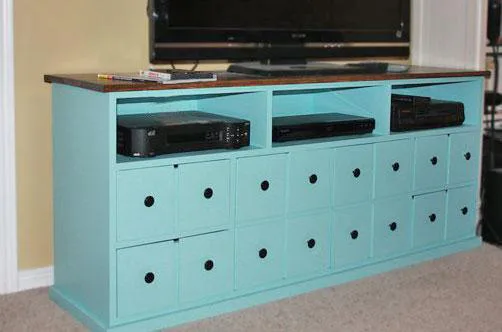
Wall-Mounted Boot Rack
Tired of muddy boots cluttering your entryway? Build this wall-mounted boot rack - It's a quick and easy project that keeps boots organized and off the floor—perfect for families, farms, and mudrooms. Includes, cut list, and reader-submitted photos. Built from real wood, this rack is both functional and rustic-chic. UPDATE: After many years of using this boot rack, it is still in awesome condition! The dowels are still tight and do not wobble. We use this for more than just boot storage, we hang hats, gear, anything on it. Its been a great plan!

Dimensions
Use the size-specific shopping and cut lists below.

What you need
- 1 - 2x8 @ 4 feet long
- 8 feet of wood closet rod dowel (1-1/4" diameter)
- 3" self tapping wood screws (star bit)
- 1-1/4" Forster bit
- 1 - 2x8 @ 47-1/2" long
- 11- 1-1/4" dowels @ 8" long
- measuring tape
- square
- pencil
- hammer
- safety glasses
- hearing protection
- drill
- circular saw
- level
Step by step
Step 1
Mark the 2x8 board as specified above - dowels are space 4-1/4" apart from center to center, 2-1/2" spacing from outsides
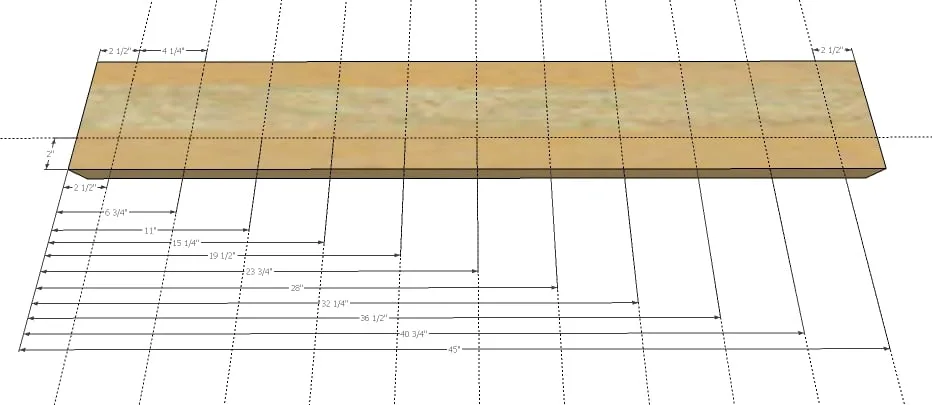
Step 2
Drill holes for the dowels with a bit sized for the dowels using the 1-1/4" Forstener bit. Drill about 3/4" deep.
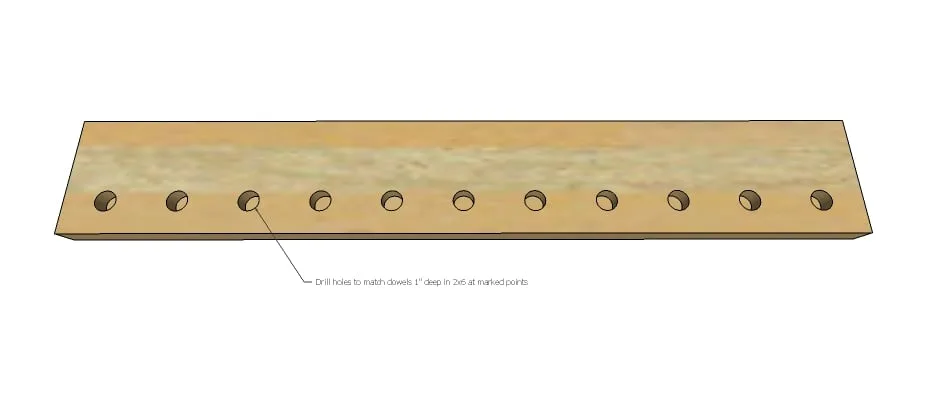
Step 3
Drill smaller holes inside the larger hole for attaching screws through the back. This screw should go all the way through the back.
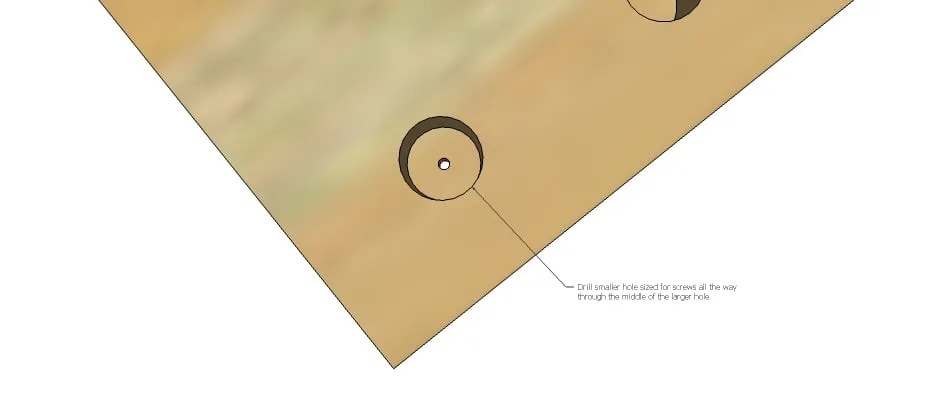
Step 4
Glue dowels inside the larger holes.
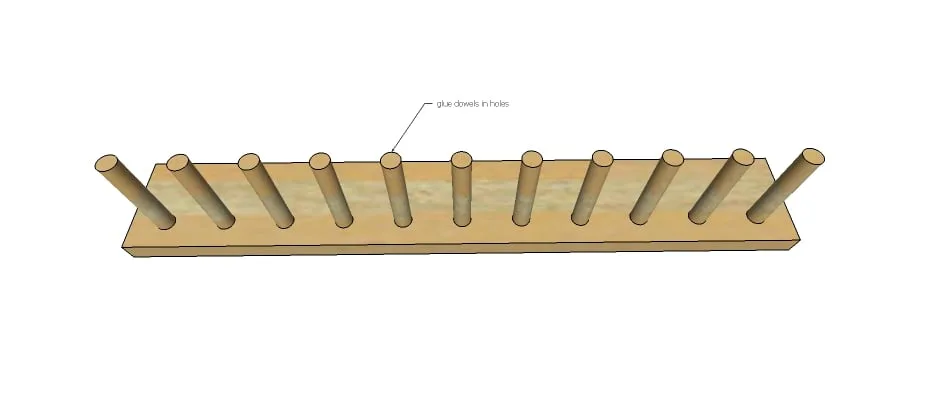
Step 5

Finishing
Sand all surfaces, starting with a medium grit and finishing with fine. Wipe off the dust, fill any holes or gaps with wood filler, and sand smooth once dry. Apply primer if you're painting, then finish with your choice of paint or stain and seal with a durable clear topcoat. For outdoor projects, use exterior-rated primer, paint or stain, and sealer so the piece stands up to the weather.