Central Vac Hose Reel and Attachment Organizer
Build your own cabinet for central vac hose and accessories! Free DIY.

Dimensions
Use the size-specific shopping and cut lists below.

What you need
- 1 - 1x8 @ 10 feet long (sides)
- 1 - 1x8 @ 8 feet long (shelves
- 1 - 3/4" plywood @ 24" x 24"
- 2 - 1x8 @ 59-3/4" - sides
- 4 - 1x8 @ 23-3/4" - shelves
- 1 - 3/4" plwyood @ 23-3/4" x 24"
- Optional 1/4" plywood back is 59-3/4" x 25-1/4"
NOTE: The cuts are a 1/4" smaller than shown in diagrams so you can get all the cuts from the shopping list.
- measuring tape
- square
- pencil
- safety glasses
- hearing protection
- kreg-jig
- drill
- compound miter saw
- nailer
- sander
- countersink drill bit
Step by step
Step 1
Build the outer frame. I used my Kreg Jig on the 3/4" setting with 1-1/4" pocket hole screws, but you can also use 1-1/4" brad nails and glue or wood screws (choose self tapping wood screws, preferably between 1-3/4" and 2-1/4" length)
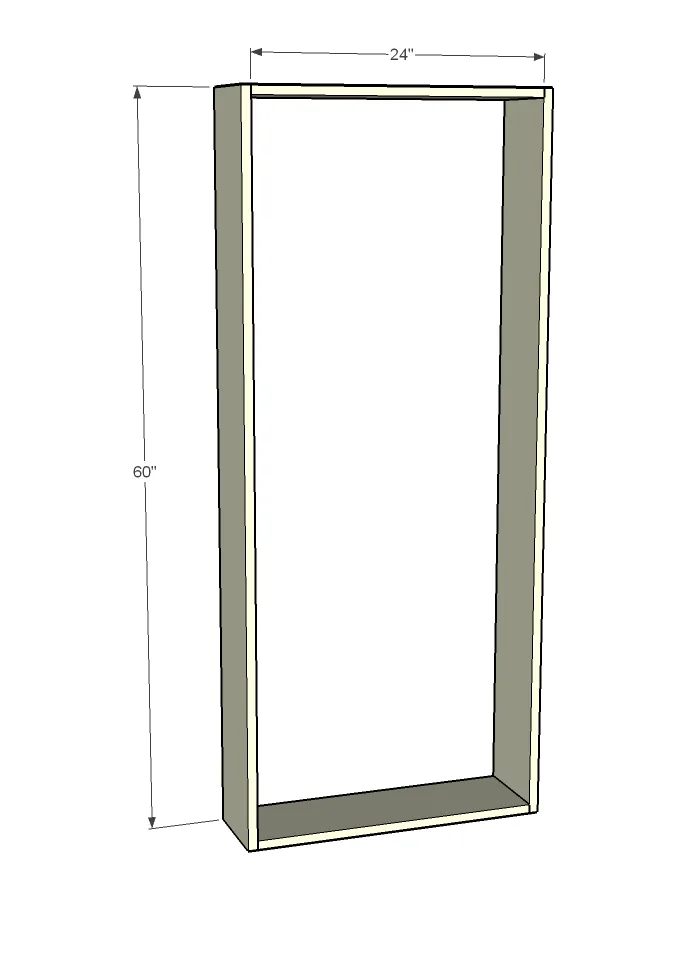
Add the shelves, preferabbly with screws.
The center plywood panel can be nailed and glued in place. Attach back with 5/8" to 3/4" long brad nails (if desired). Hang the orgnaizer on the wall through the 3/4" plywood using screws long enough for your wall type, screwing into studs into the wall. The hose hanger came with our central vac system. We mounted to the 3/4" plywood.

Step 3
For the finish we used Varathane Dark Walnut (same as Rustoleum). We lightly sanded the project with 120 grit sandpaper. Then cleaned any sanding residue up. Finally applied the stain with a lint free rag.

Finishing
Sand all surfaces, starting with a medium grit and finishing with fine. Wipe off the dust, fill any holes or gaps with wood filler, and sand smooth once dry. Apply primer if you're painting, then finish with your choice of paint or stain and seal with a durable clear topcoat. For outdoor projects, use exterior-rated primer, paint or stain, and sealer so the piece stands up to the weather.