Twin Storage (Captains) Bed
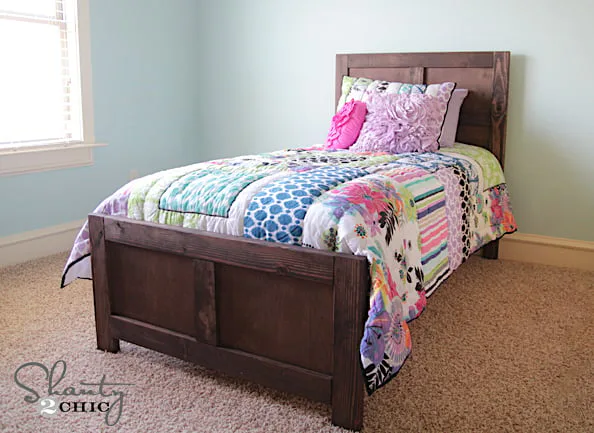
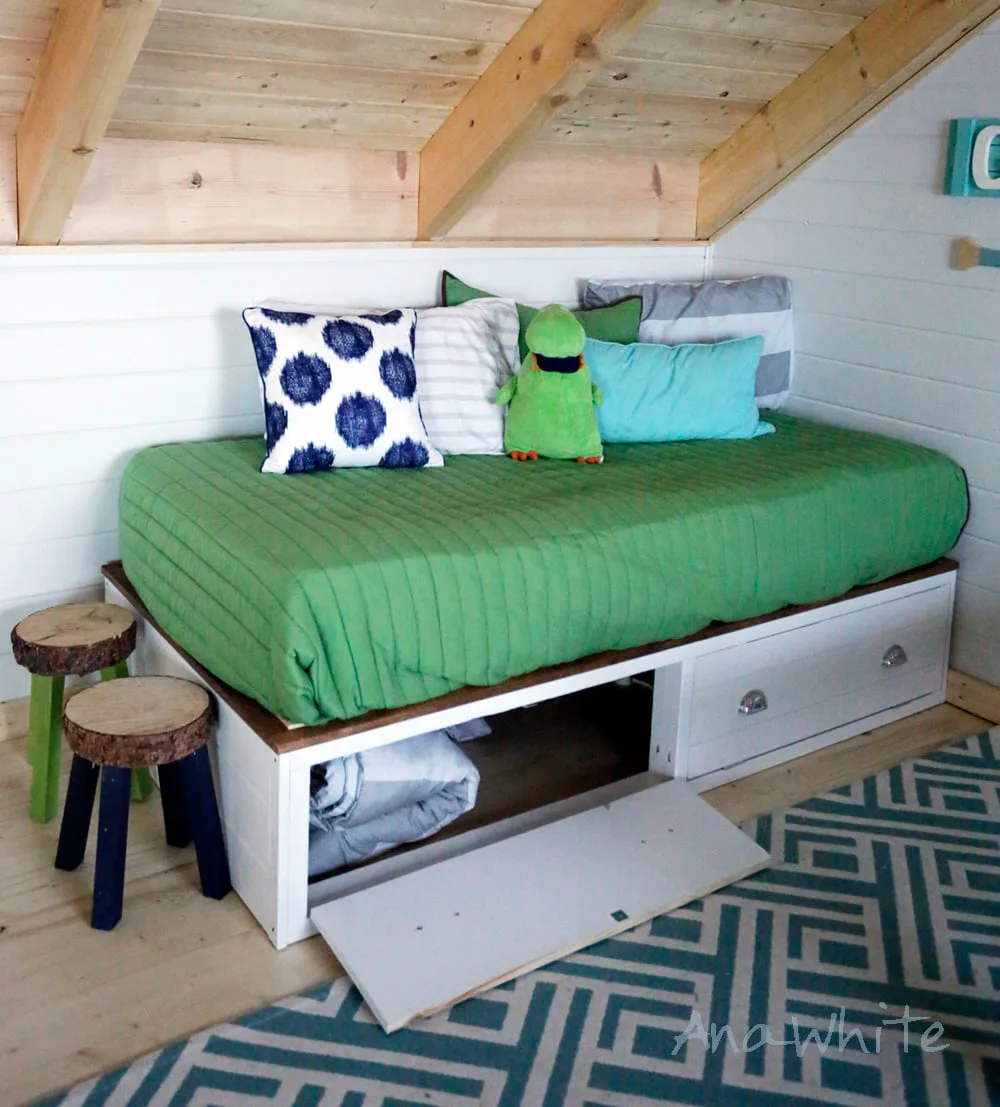
We already have a storage daybed plan, and it has been very very popular. But this plan is for a twin storage bed, meaning it has storage on three sides. This bed is also (in my opinion) easier to build. But the downside is the cubbies are not as deep and there is less storage. Special thanks to Shanty 2 Chic for sharing their amazing photos with us.

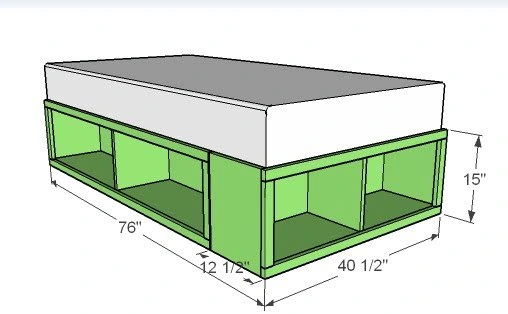
Dimensions
Use the size-specific shopping and cut lists below.
What you need
Please reference the full size bed for a materials list here.
- 2 – 1×12 @ 39″ (Tops and Bottoms of the Boxes)
- 2 – 1×12 @ 15″ (Sides of the Boxes)
- 1 – 1×12 @ 12 3/4″ (Center Divider of Boxes)
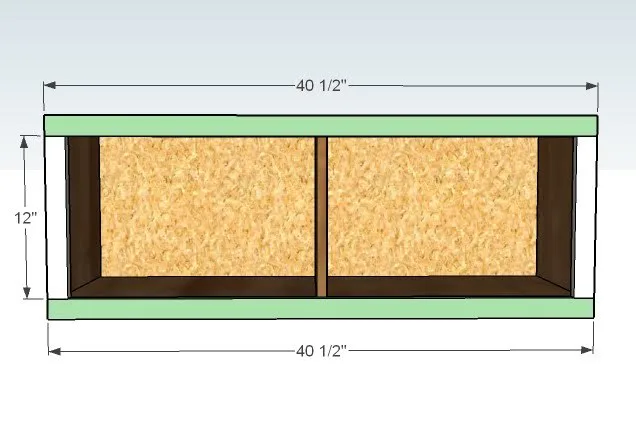
- 1/4″ Plywood or MDF @ 15″ x 40 1/2″ (Back of Box)
- 2 – 1×2 @ 40 1/2″ (Top and Bottom Trim)
- 2 – 1×2 @ 12″ (End Trim)
- 11 – 1×3 @ 15 1/2″ (Slats) (you can buy a couple less 1x3s for the twin version)
CUT LIST FOR TWIN END BASE UNIT ONLY
- measuring tape
- square
- pencil
- safety glasses
- hearing protection
- drill
- circular saw
- nailer
- sander
Step by step
Step 1
Build the two side benches from the full size bed (shown above). DO NOT build the end bench. Instead, you will build this bench as follows, sized for a twin mattress.

Build The Box
Build your box using 2″ screws and glue as shown above. Check for square.

Back
Attach the back with 1 1/4″ Screws and glue

Trim
Fasten with 1 1/4″ finish nails and glue the trim to the face. You can alternately use screws, but if you are staining, the screw heads will be difficult to hide. Another option is to build the frame using a Kreg Jig™ and then attach to the face.
Step 5

Finishing
Sand all surfaces, starting with a medium grit and finishing with fine. Wipe off the dust, fill any holes or gaps with wood filler, and sand smooth once dry. Apply primer if you're painting, then finish with your choice of paint or stain and seal with a durable clear topcoat. For outdoor projects, use exterior-rated primer, paint or stain, and sealer so the piece stands up to the weather.