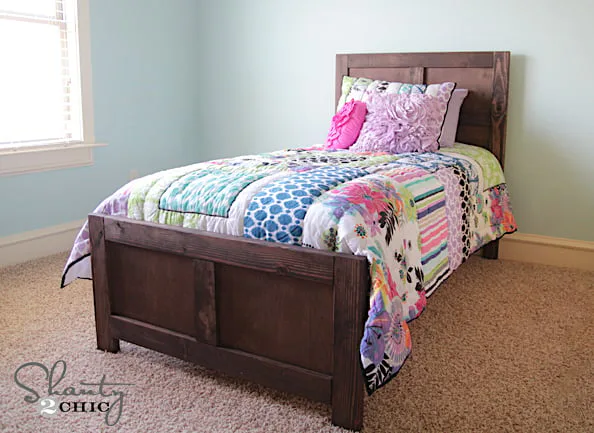
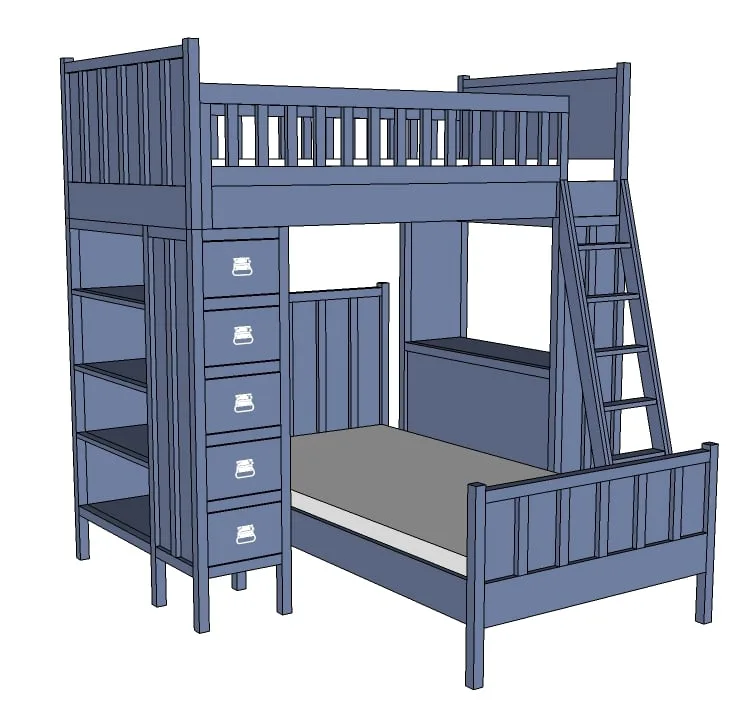
2x4 Captains Bed with Flip Down Storage
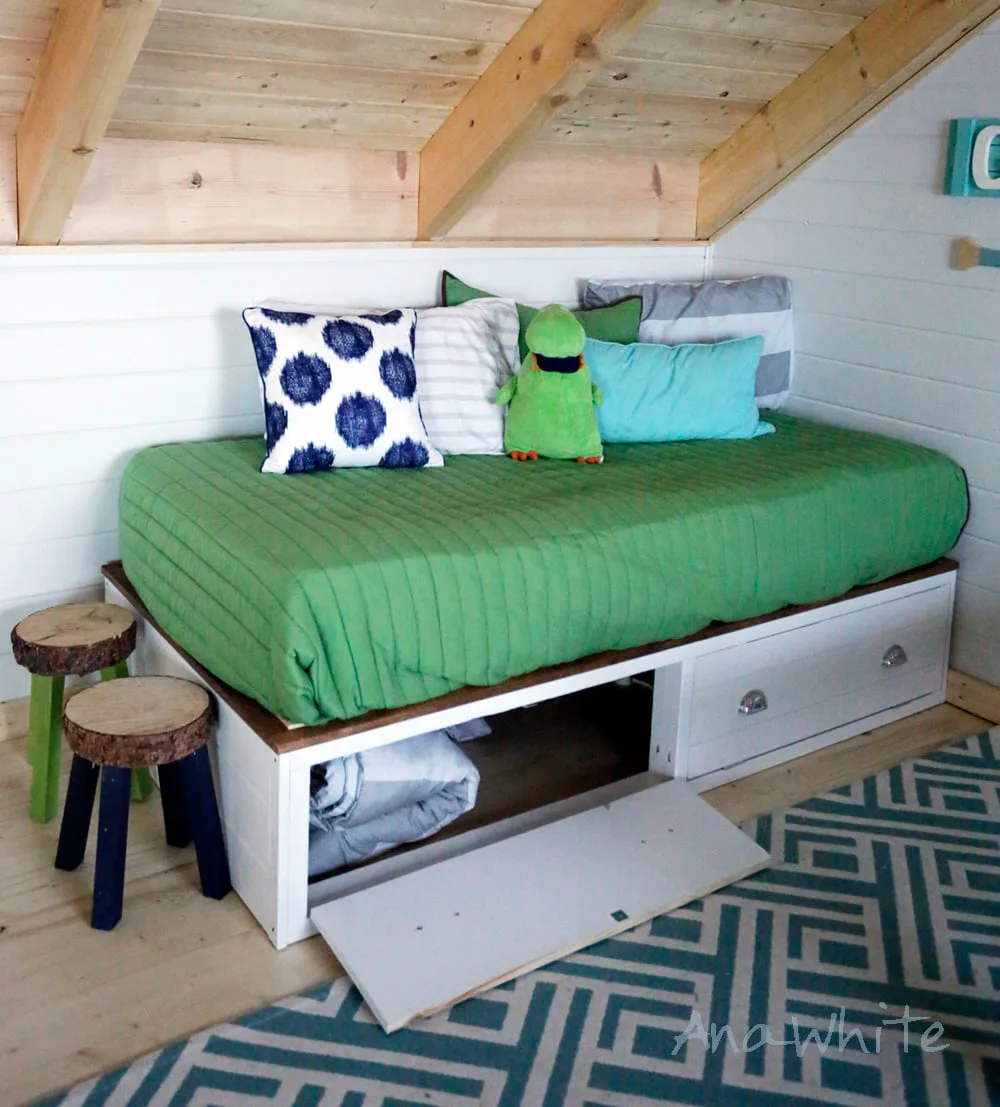
Easy to build captain beds with flip down storage. Simple 2x4 frames.
Dimensions
Use the size-specific shopping and cut lists below.

What you need
- 4 - 2x4 @ 8 feet long (pine recommended because it is easier to work with and paint than fir)
- 2 pieces of 3/4" plywood 14-1/2" x 36" or 3 - 1x8 @ 72" long
- 2 - 1x2 @ 8 feet long
- 1 - 1x4 @ 6 feet long
- Additional 1x material or 3/4" plywood for slats
- 2-1/2" to 3" length self tapping star bit wood screws
- 2" self tapping star bit wood screws
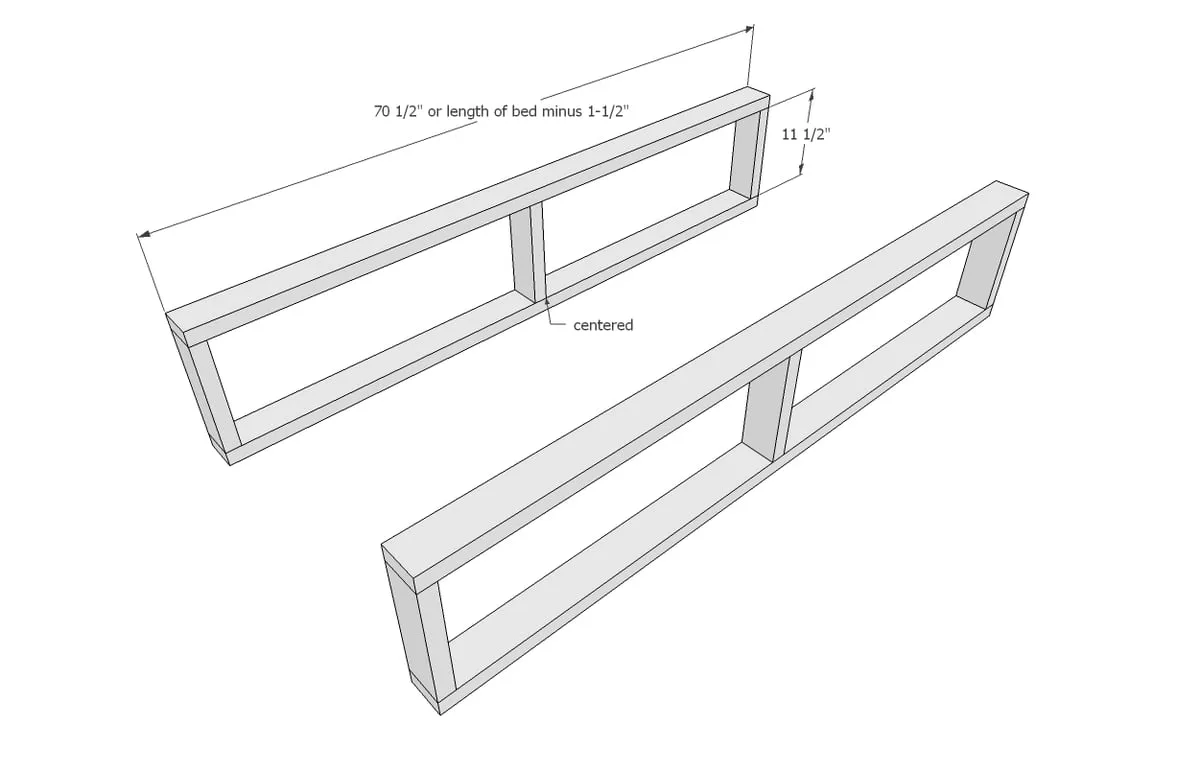
- 4 - 2x4 @ 70-1/2" - frame top and bottom
- 6 - 2x4 @ 11-1/2" - frame verticals
- 2 - 3/4" plywood @ 14-1/2" x 36" or 6 - 1x8 @ 36" - headboard/footboard
- 2 - 1x12 @ 32-3/4" (if the bed is exposed on both sides, you will need two more drawer faces) - drawer faces
- 2 - 1x2 @ 72-1/2" - mattress slat trim
- 2 - 1x4 @ 33-1/2" - mattress slats
- 1x3 or 1x4 wood slats (can be scrap wood) 33-1/2" long, spaced about 4" apart (see mattress recommendations)
- measuring tape
- square
- pencil
- safety glasses
- hearing protection
- drill
- compound miter saw
- table saw
- sander
Step by step
Step 1
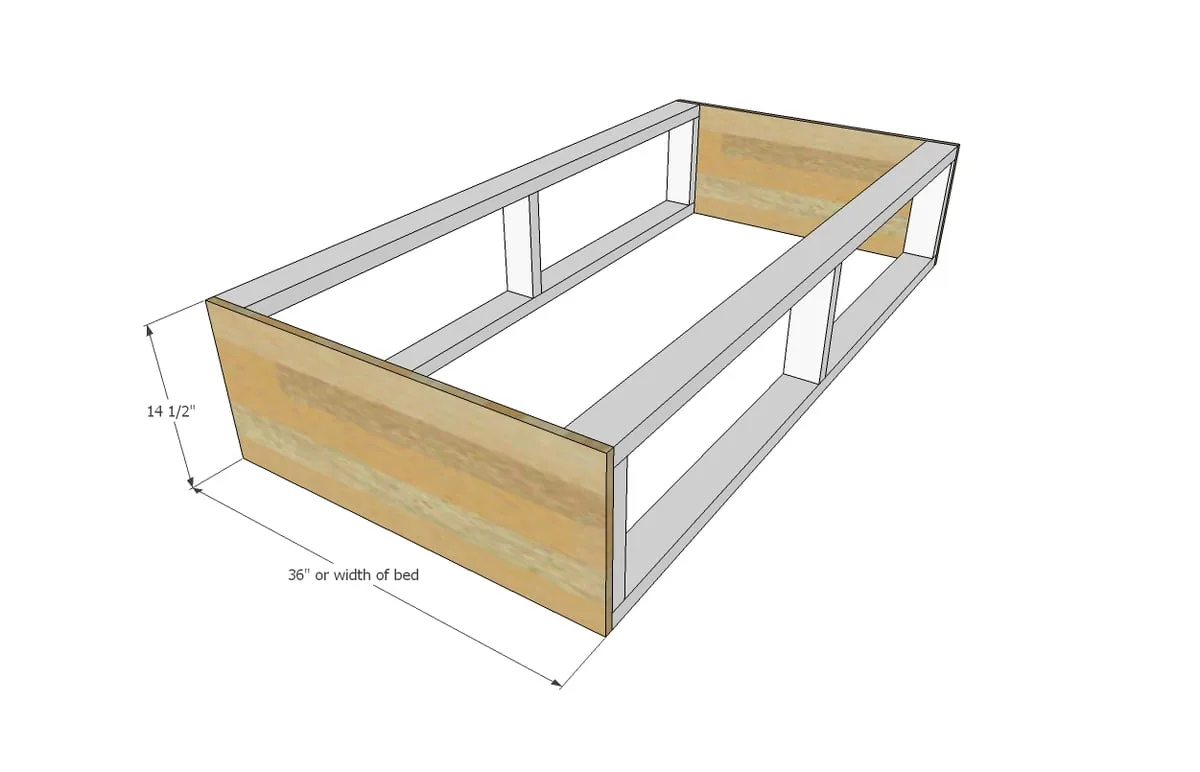
Use 2-1/2" to 3" length wood screws (try spax brand, no pre-drilling required) or pocket holes (set to 1-1/2" setting using 2-1/2" long pocket hole screws) to build two of the frames. It is important to build these frames square so the drawer faces fit inside. Make good square cuts and attach carefully.
Step 2
Use 3/4" plywood or stacked 1x boards (I used 1x6s) to create the ends of the bed. Screw on with 2" screws and wood glue.
Step 3
Use hinges to attach the drawer faces to the frames. I regret not putting my handles higher on the drawer face, as when opening the leverage is difficult with the handles in the middle.

Step 4
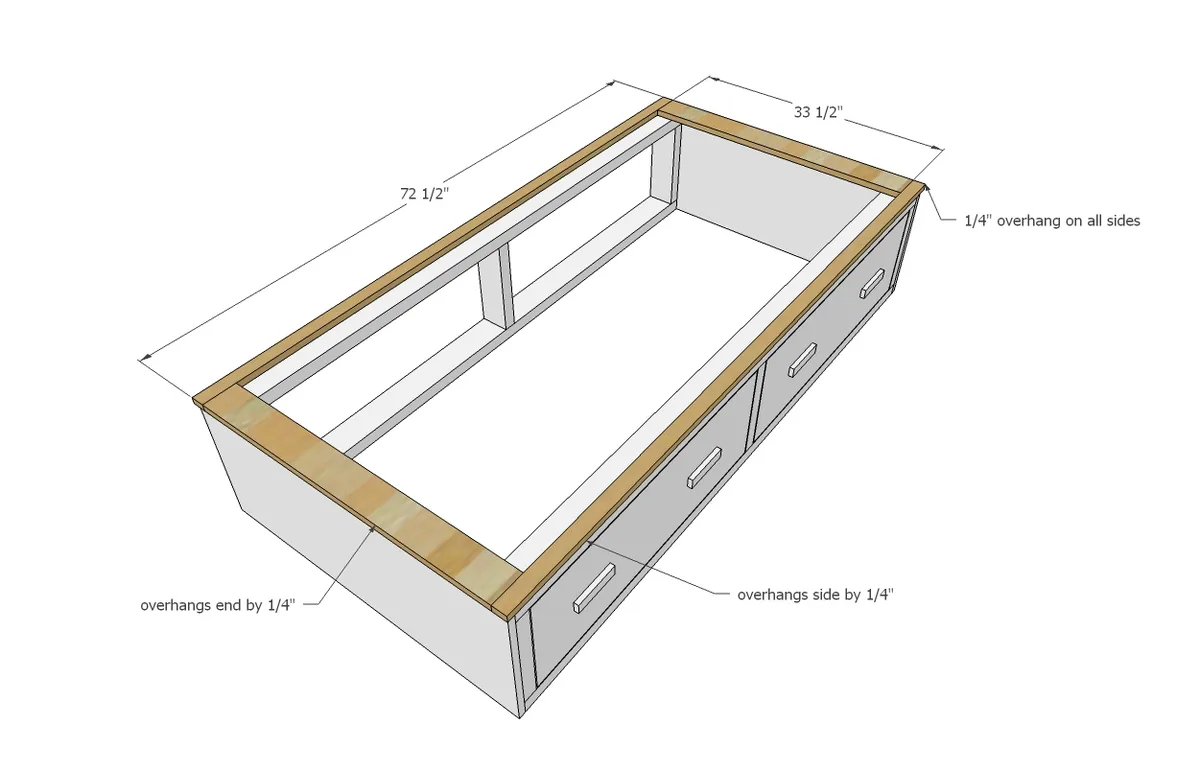
Use 2" screws and wood glue to attach the top 1x2s to the top of the bed, overhanging 1/4" on outside edges. I recommend staining these boards first. Then screw the end 1x4 boards to the ends, overhang on the outside is 1/4" to match the 1x2. Again, stain this board first.
Step 5

Finishing
Sand all surfaces, starting with a medium grit and finishing with fine. Wipe off the dust, fill any holes or gaps with wood filler, and sand smooth once dry. Apply primer if you're painting, then finish with your choice of paint or stain and seal with a durable clear topcoat. For outdoor projects, use exterior-rated primer, paint or stain, and sealer so the piece stands up to the weather.