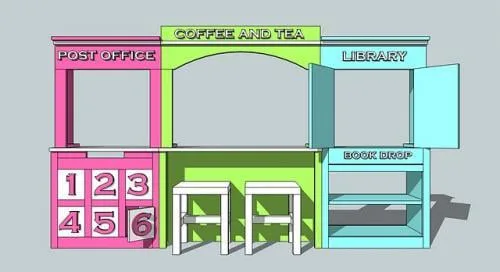
Library Hutch for Grace's Town
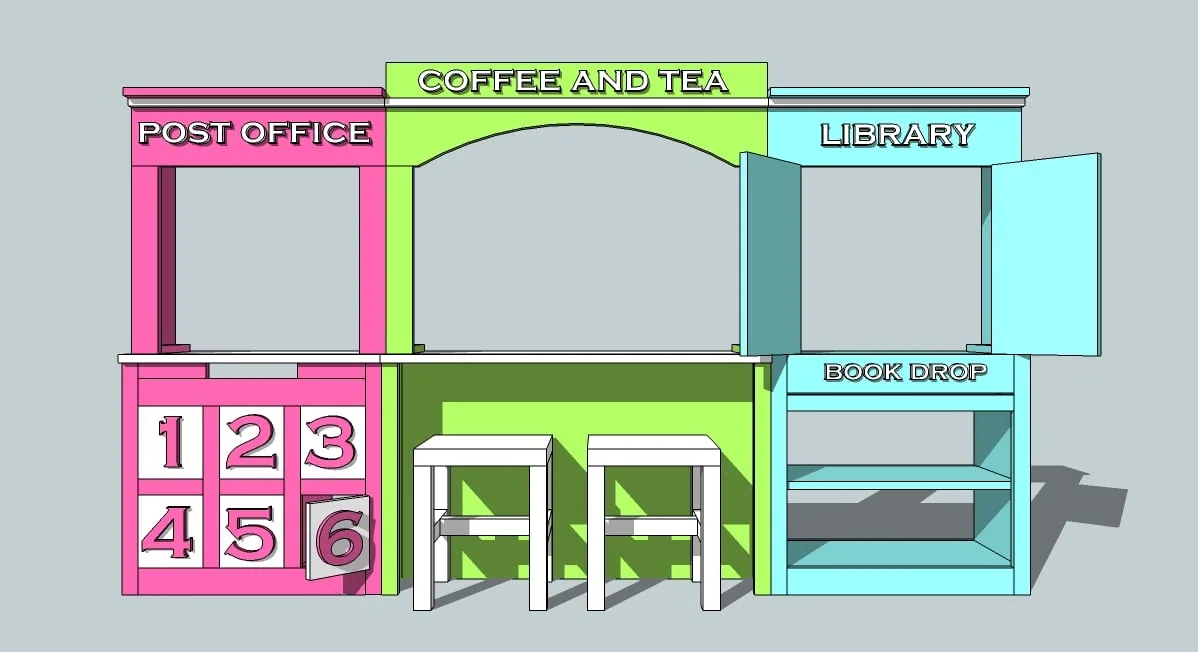
The hutch will finish this project out and, your kid's will love to play endlessly for hours be it a library to a convenience store.
What you need
- 1- 1 x 3 x 8'
- 1- 1 x 2 x 8'
- 1- 1 x 8 x 8'
- 1- 1 x 6 x 8'
- 2 – 1×10 @ 17 1/2″ (Optional Doors)
- 3 - 1×8 @ 24″ (Sides and Top of the Hutch)
- 2 – 1×2 @ 7 1/2″ (Supports for the Hutch to Secure to Base Cabinet)
- 1 – 1×6 @ 24″ (Header)
- 1 – 1×2 @ 24″ (Above the Header Trim)
- 1 – 1×3 @ 24″ (Top of the Cabinet Trim)
- 2 – 1×3 @ 17 3/4″ (Front Hutch Trim)
- 1 – 1×2 @ 24″ (Back Support)
Cut list for the doors on the hutch
Cut list for the 2 foot wide hutch
- measuring tape
- square
- pencil
- hammer
- safety glasses
- hearing protection
- drill
- circular saw
- nailer
- sander
Step by step
Step 1
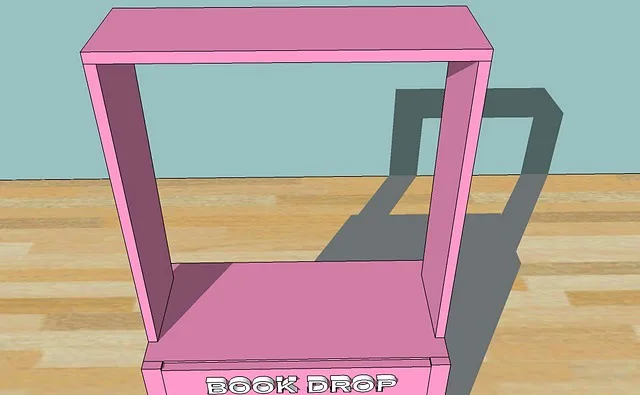
Start will all the boards A. Use 1 of the boards A and nail through the top of A into the end edges of A, to make a three sided box, as shown above. The overall measurements will be 24″ wide and 24 3/4″ tall. Use glue and 2″ nails.
Step 2
Now add the supports, B, as shown above. Nail through the bottom end of A into the side edge of B, as shown above. You will use B to secure the hutch to the base cabinet. Use 2″ nails and glue.

Step 3
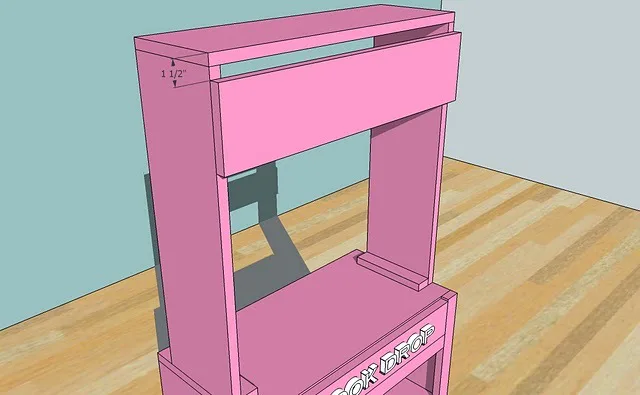
Add the header, C, measuring down 1 1/2″ from the top, as shown in the diagram above. Use 2″ nails and glue.
Step 4
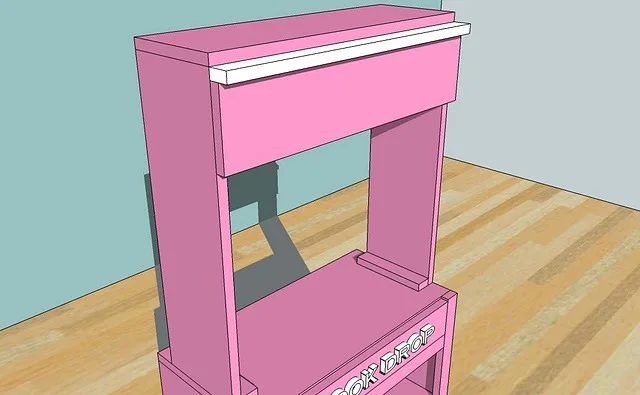
Now add the above the header trim piece, D, as shown above. Use the 2″ nails and glue to nail the trim piece into the header, C, and the sides of the hutch, A.
Step 5

Step 6
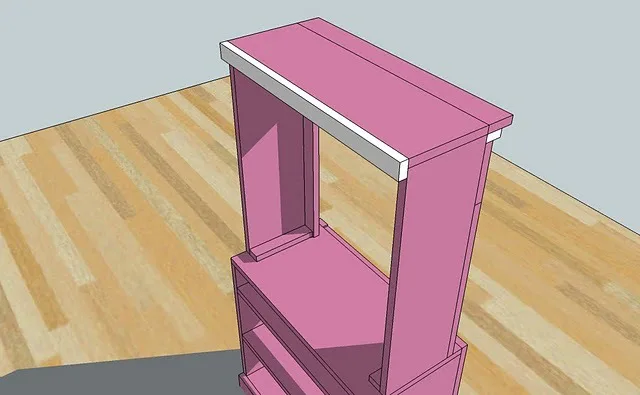
Add pieces F to the sides of the hutch as shown above. Nail F into the sides, A, and into the supports, B, and toenail into the header, C.

Step 7
Attach the back support, G, as shown above, using 2″ nails and glue.
Step 8
Attach the back support, G, as shown above, using 2″ nails and glue.

Step 9
Secure the hutch to the base cabinet by screwing through the supports, B, into the top of the base cabinet with 1 1/2″ screws. 10. Fit the doors and attach with hinges. Remember, doors create a pinch hazard for small children, and these doors will fit snug. Omit the doors if you are concerned about little fingers being pinched.
Finishing
Sand all surfaces, starting with a medium grit and finishing with fine. Wipe off the dust, fill any holes or gaps with wood filler, and sand smooth once dry. Apply primer if you're painting, then finish with your choice of paint or stain and seal with a durable clear topcoat. For outdoor projects, use exterior-rated primer, paint or stain, and sealer so the piece stands up to the weather.