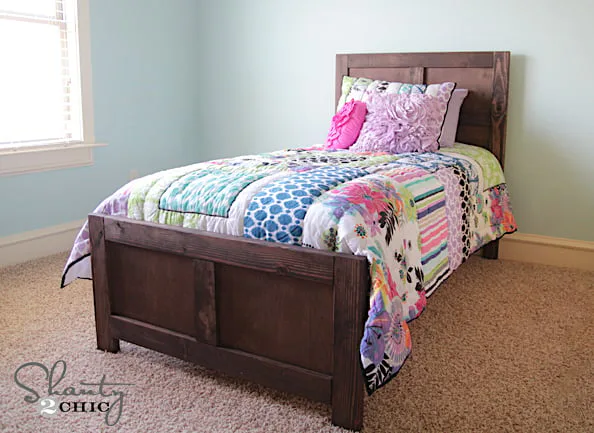
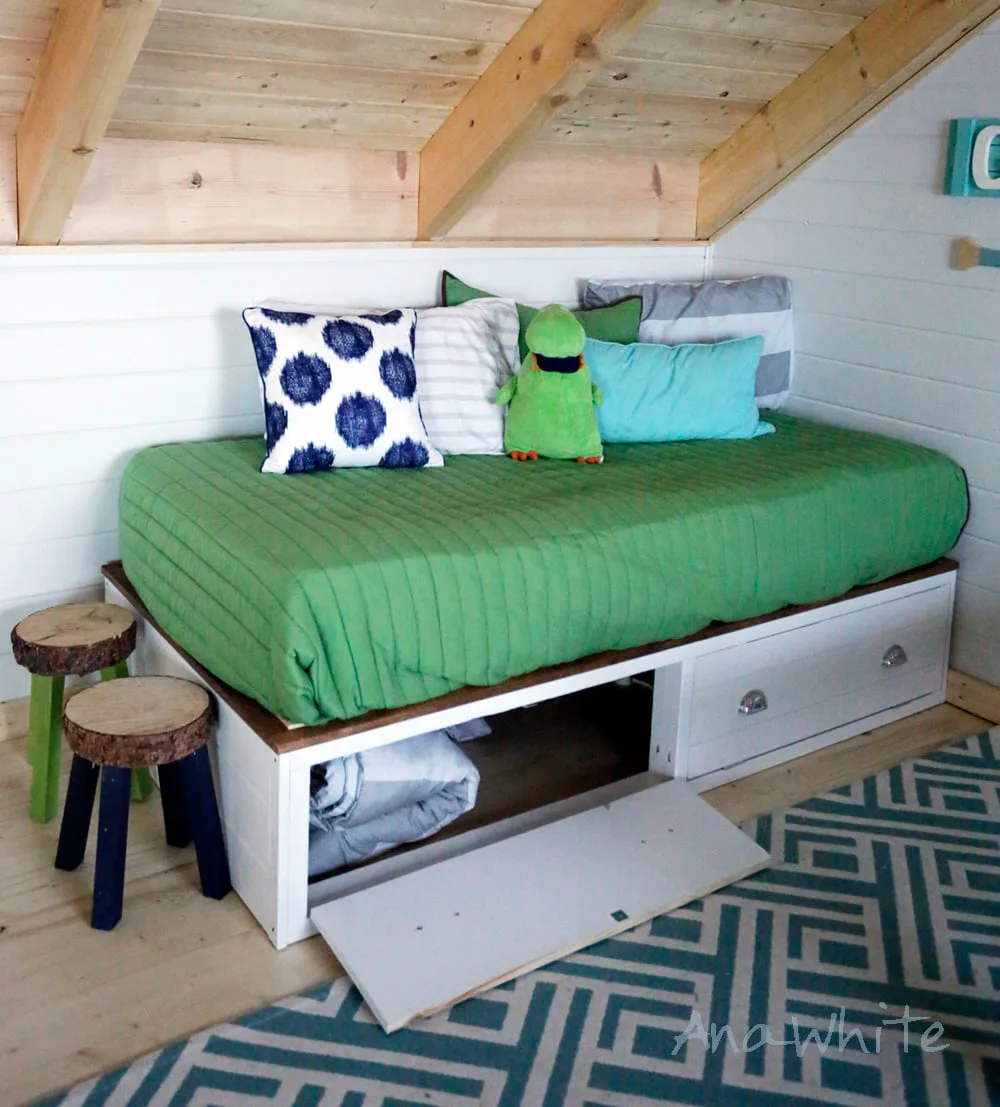
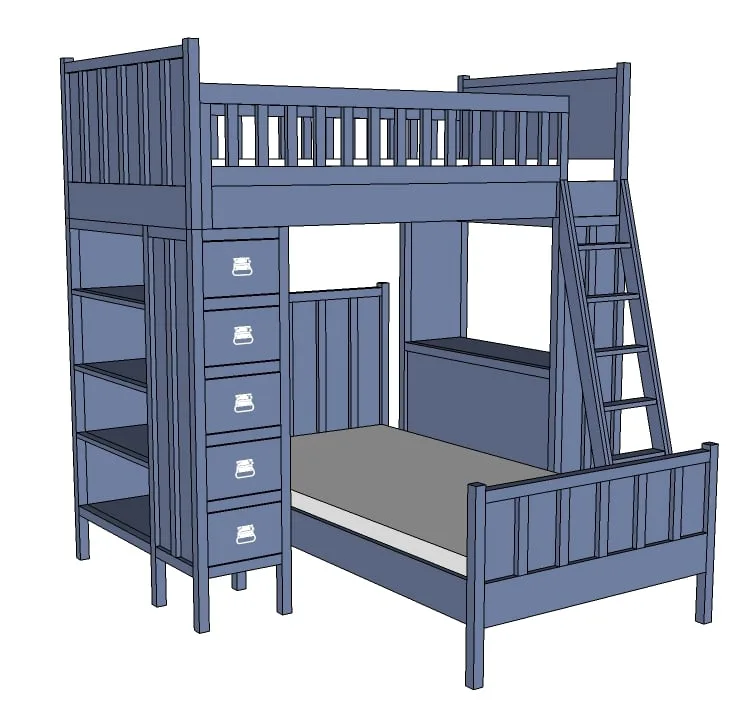
Decorative Panel Bed with Platform Bed Frame
Decorative Panel Bed with Platform Bed Frame — Bring warmth, style, and craftsmanship into your bedroom with this Decorative Panel Bed design. Featuring a timeless panel-style headboard with vertical slats framed in clean lines, this bed blends traditional woodworking charm with the convenience of a modern platform frame — no box spring required. guide you step-by-step through the build, from cutting the headboard panels to assembling the sturdy platform base. With clear diagrams, a complete cut list, and straightforward joinery methods, this project is perfect for intermediate DIYers and dedicated beginners looking to hone their skills. Features: • Decorative slatted headboard for a classic craftsman look • Integrated platform bed frame for a clean, modern profile • Sturdy wood construction built to last • Designed for a standard queen mattress (adjustable to other sizes) • Neutral, versatile style — pairs perfectly with farmhouse, modern, or transitional décor • with cut list, materials list, and assembly diagrams Plan Includes: • Full step-by-step instructions • 3D renderings for each stage of assembly • Material sourcing tips • Lots of reader submitted photos and comments to help you build Build it yourself and enjoy the pride of creating a bed that is both functional and beautiful — a centerpiece that will last for years to come.
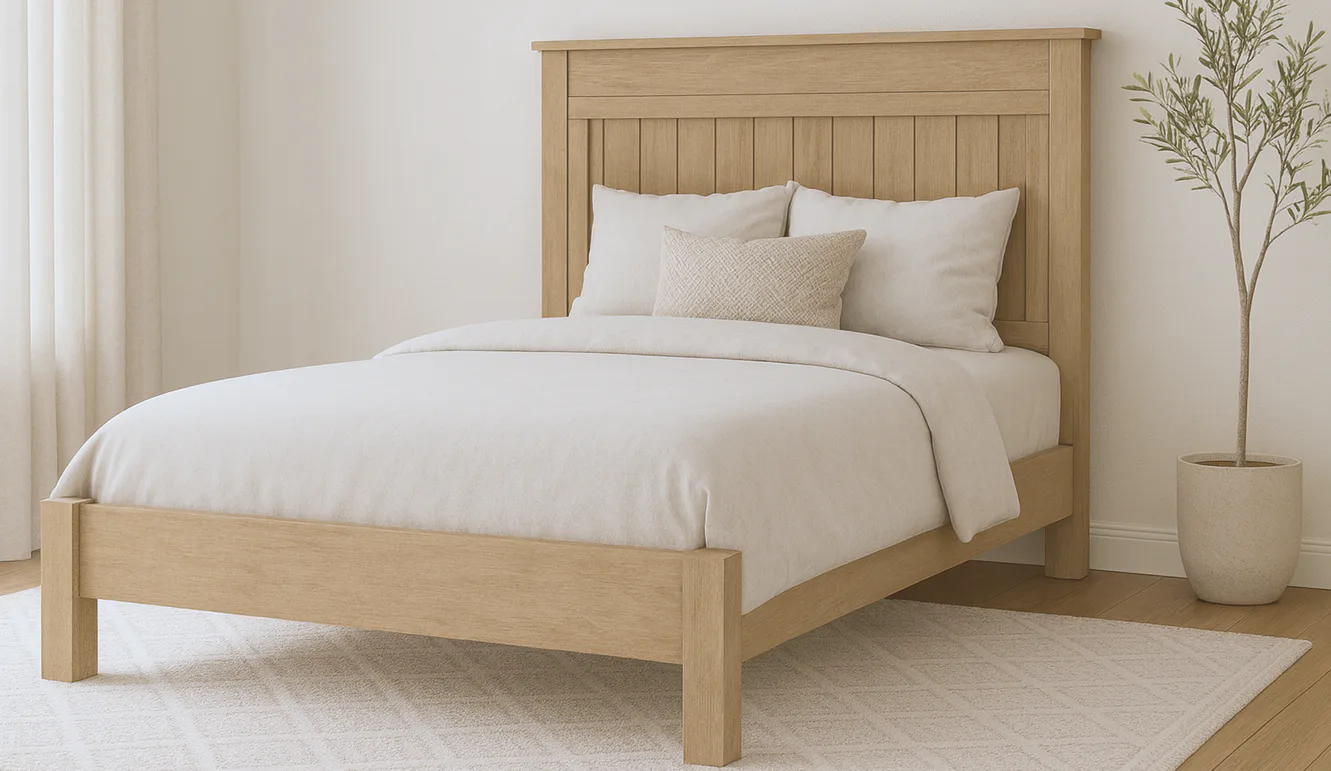
Dimensions
Use the size-specific shopping and cut lists below.
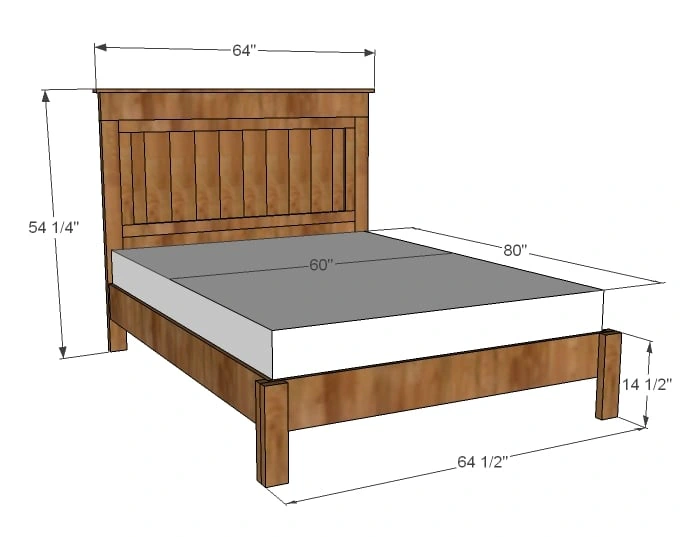
What you need
- 3 – 1×6 @ 8 feet long
- 2 – 1×2 @ 8 feet long
- 2 – 2×6 @ stud or 8 foot length
- 8 – 2×4 @ stud or 8 foot length
- 1- 1×3 @ 8 foot length
- 1 – 1×8 @ 12 feet long
- 1 – 1×8 @ 8 feet long
- 1 – 2×2 @ 30″ long
- 2 1/2″ self tapping wood screws
- 3″ self tapping wood screws
- 1 1/4″ brad nails or wood trim screws
wood glue, wood filler, sandpaper (medium grit) and other finishing supplies
- 10 – 1×6 @ 24″ (Panel Boards – cut panel boards at 23 7/8″ to account for saw blade if you need to conserve boards)
- 2 – 1×2 @ 24″ (Side Trim for Panel – cut at 20 7/8″ if you cut your panel boards at 23 7/8″)
- 2 – 1×2 @ 55″ (Top/Bottom Panel Trim)
- 1 – 2×6 @ 55″ (Base of Panel)
- 2 – 2×4 @ 48″ (Legs)
- 1 – 1×3 @ 64″ (Top of Headboard)
- 5 – 2×4 @ 57″ (Joists)
- 2 – 2×4 @ 80″ (Sides of Bed Frame)
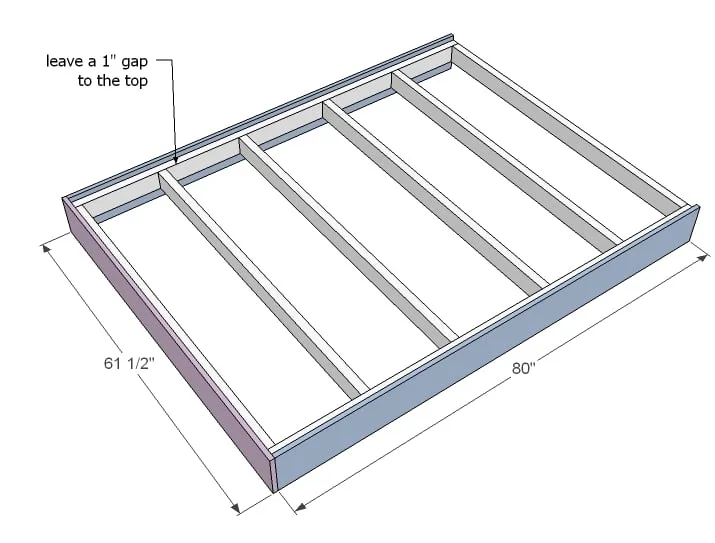
- 2 – 1×8 @ 80″ (Siderails)
- 1 – 1×8 @ 61 1/2″ (Footrail)
- 2 – 2×2 @ 14 1/2″ (Legs)
- 2 – 2×4 @ 14 1/2″ (Legs) Moulding
- 1 – 8′ Stick of Chair Rail like this one from Lowes (use this stick on the bottom tier of the headboard)
- 3 – 8′ Sticks of Base Cap like this from Lowes (use this type of moulding to trim panel and for the top tier on the headboard)
- measuring tape
- square
- pencil
- safety glasses
- hearing protection
- kreg-jig
- drill
- circular saw
- sander
Step by step
Build the Headboard Panel
If you have a finish nailer, it’ll be a two second job to attach the trim to the panel boards. Otherwise, screw from the back with 1 1/4″ screws to hide your screw holes. Use glue and adjust for square, squaring ends up. I used screws.
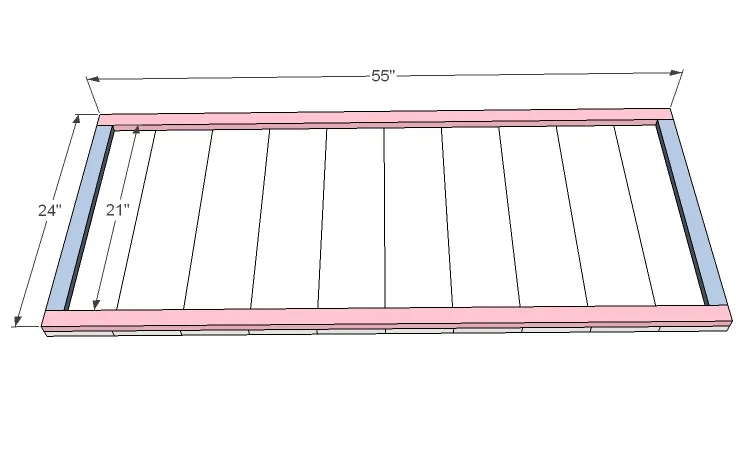
Headboard Base
Now attach the base to the panel. You won’t need a ton of screws, so if you only have a countersink bit, you can carefully predrill holes at an angle. Use 2 1/2″ screws and wood glue. I thought about recommending brackets, but for the cost of the brackets, you could purchase a Kreg Jig™, so I scrapped that idea.
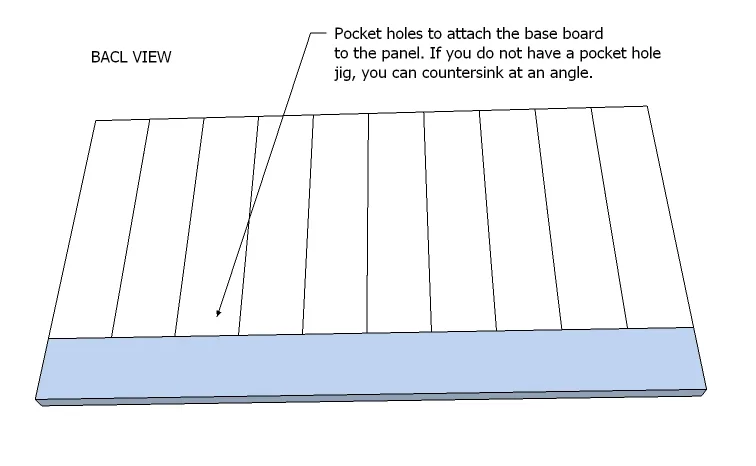
Attach the Legs to the Headboard Panel
Same as the base, attach the legs from back of the headboard
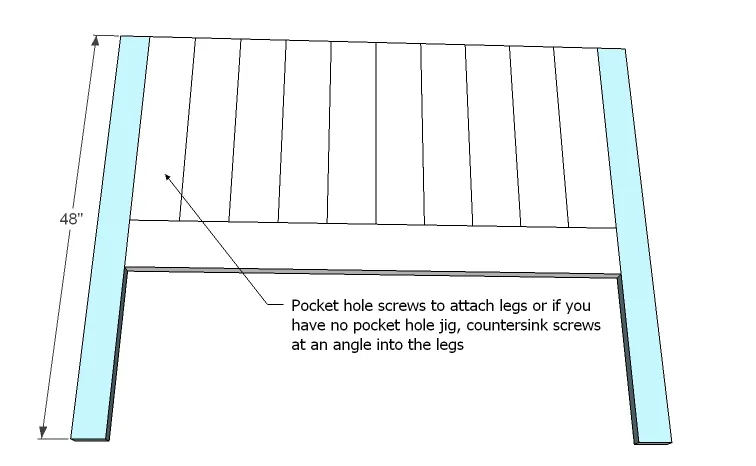
Headboard Top Panel
Now the top panel. If you are really nervous about trying what would be called “toenailing” if you were using nails (screwing at an angle) a scrap piece of 1/4″ plywood that covers the entire panel and overlaps the legs and top and bottom could do the trick too.
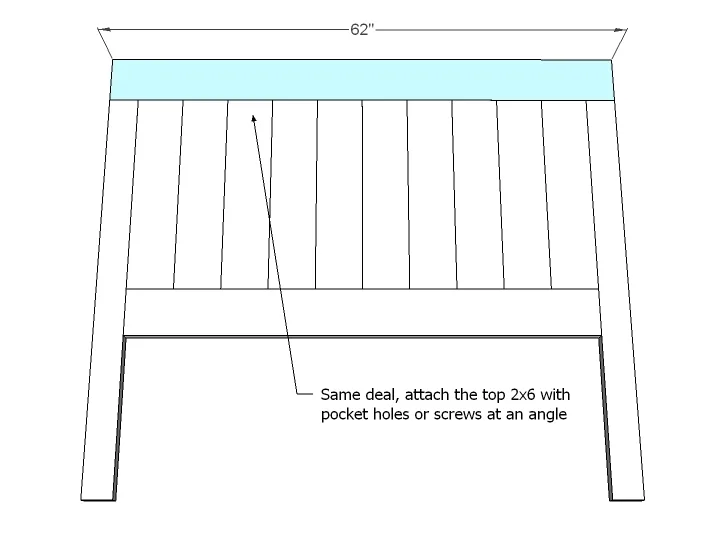
Step 5
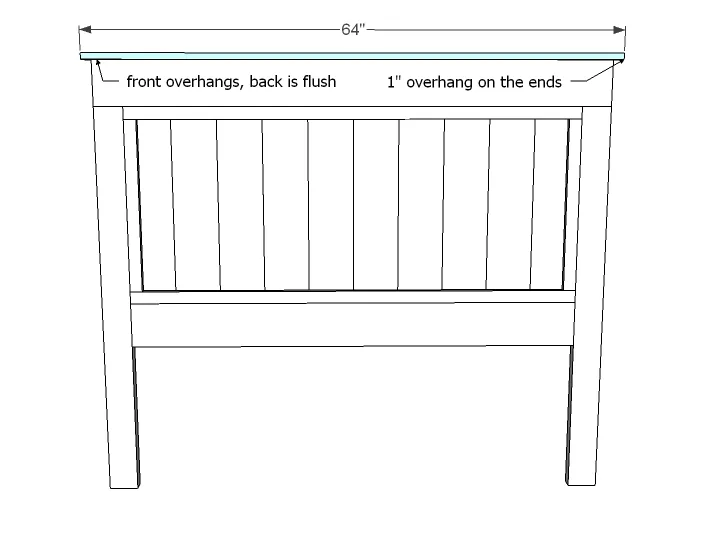
Moulding
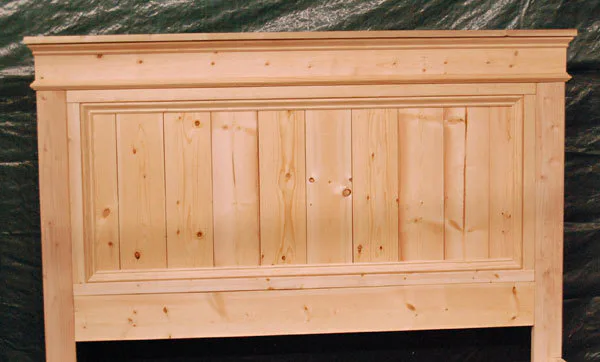
This is the trickiest part, so definitely do some testing before you make your final cuts. All corners are at 45 degree angles. Use a miter box or a miter saw to carefully make your cuts. I did not give measurements here because you should fit your moulding perfectly to your bed rather than my measurements. If you have a finish nailer and 1″ finish nails, glue and nail in place. Otherwise, glue and clamp in place. Avoid letting glue dry on bare wood, as those areas will not accept stain.
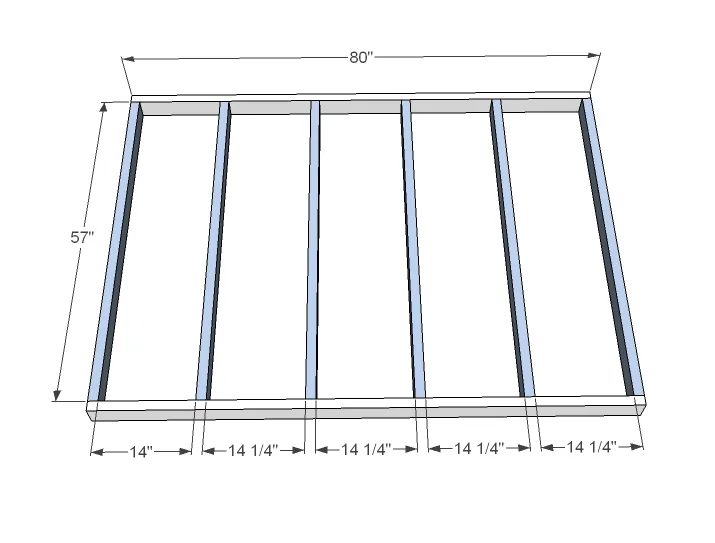
Bed Frame
There are many many ways to build a bed frame, but this is probably my favorite. We do live in a dry climate, so a plywood frame may make more sense for us than you. Make sure you check out our other bed frames if a plywood platform does not work for you. We simply screwed 2x4s together, just like you would to build a wall. Adjust for square. Use glue and 3″ screws countersunk.
Siderails
Now these are your pretty boards. Either screw from the inside with 2″ screws and glue or use finish nails from the outsides.
Legs and Assembly
Build your bottom legs as shown above and then attach to the bed frame, flush on top. Then mark the legs on the headboard at 14 1/2″ as shown in the diagram and predrill holes from the back of the headboard into the frame boards. Attach with 3″ screws and NO glue.

Finishing
Fill any exposed holes or imperfections with wood filler and let dry. Apply a second coat if necessary. Sand with medium grit sandpaper in the direction of the wood. Vacuum and wipe clean. Prime and paint or stain as desired. For use without a box spring, you will need to add plywood on top of the bed frame or wood slats.
Finishing
Sand all surfaces, starting with a medium grit and finishing with fine. Wipe off the dust, fill any holes or gaps with wood filler, and sand smooth once dry. Apply primer if you're painting, then finish with your choice of paint or stain and seal with a durable clear topcoat. For outdoor projects, use exterior-rated primer, paint or stain, and sealer so the piece stands up to the weather.