The Favorite Bookshelf
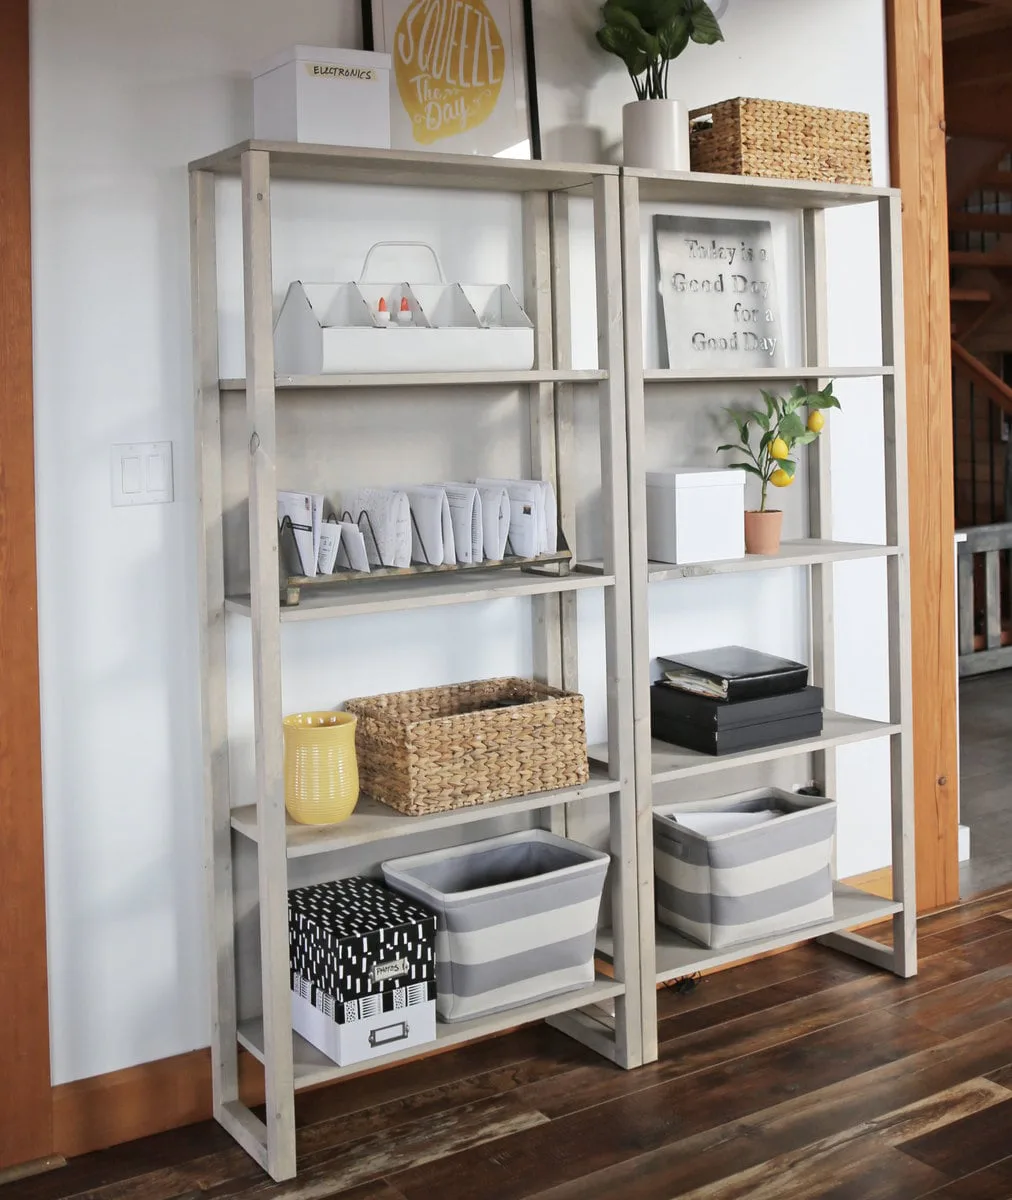
to build your own tower bookshelves out of 1x common boards. This bookshelf features a nail together design, no pocket holes required. This bookshelf can be painted or stained any color, as it is solid wood. The tall and narrow footprint of the bookshelf makes it perfect for smaller spaces, as a closet tower, in corners, or anywhere you need a beautiful bookshelf and some extra storage or decor space. The have step by step diagrams, shopping and cut lists, and reader submitted photos.

Dimensions
Use the size-specific shopping and cut lists below.

What you need
- 3 - 1x12 Boards 8' Long
- 4 - 1x3 @ 8 feet long
- 3 - 1x2 @ 8 feet long
- 24" x 96" piece of 1/4" plywood for back, can be underlayment or similar
- 4 feet of 3/4" x 3/4" or smaller cove moulding
- 3/4", 1-1/4" and 2" brad nails
- wood glue
- wood filler
- medium grit sandpaper
- paint and primer, or interior wood stain
- 2 - 1x12 @ 68" (sides)
- 5 - 1x12 @ 22 1/2" (bottom and shelves)
- 1 - 1x12 @ 24" (top)
- 2 - 1x3 @ 11-1/4" (sides of header) - measure and cut to fit
- 1 - 1x3 @ 25-1/2" (top header) - measure and cut to fit
- 2 - 1x2 @ 68 3/4" (side legs)
- 4 - 1x3 @ 68-3/4" (side and front legs)
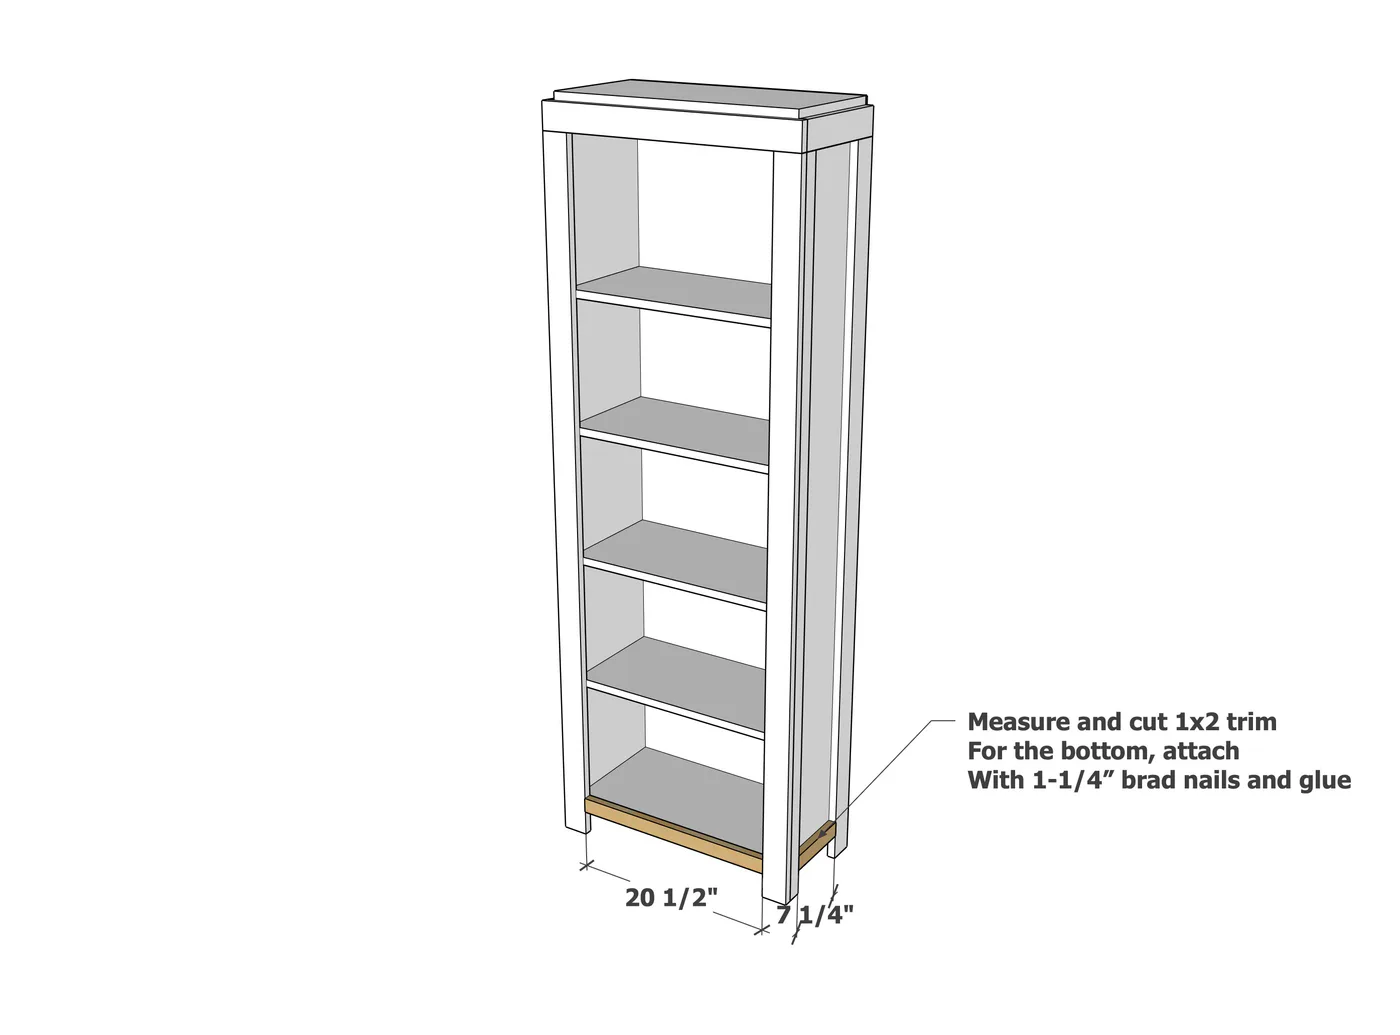
- 2 - 1x2 @ 7 1/4" (side trim for top and bottom) - measure and cut to fit
- 1 - 1x2 @ 20-1/2" (front bottom trim) - measure and cut to fit
- Crown pieces
- 2 - 1x2 @ 13" (side crown pieces, top and bottom) - measure and cut to fit
- 1 - 1x2 @ 27" (bottom crown piece, front) - measure and cut to fit
- 3/4" cove moulding should be measured and cut to fit
back, optional 1/4" plywood or mdf or other sheet goods, 68-3/4" x 24", measure and cut to fit back.
- measuring tape
- square
- safety glasses
- compound miter saw
- nailer
- sander
Step by step
Step 1
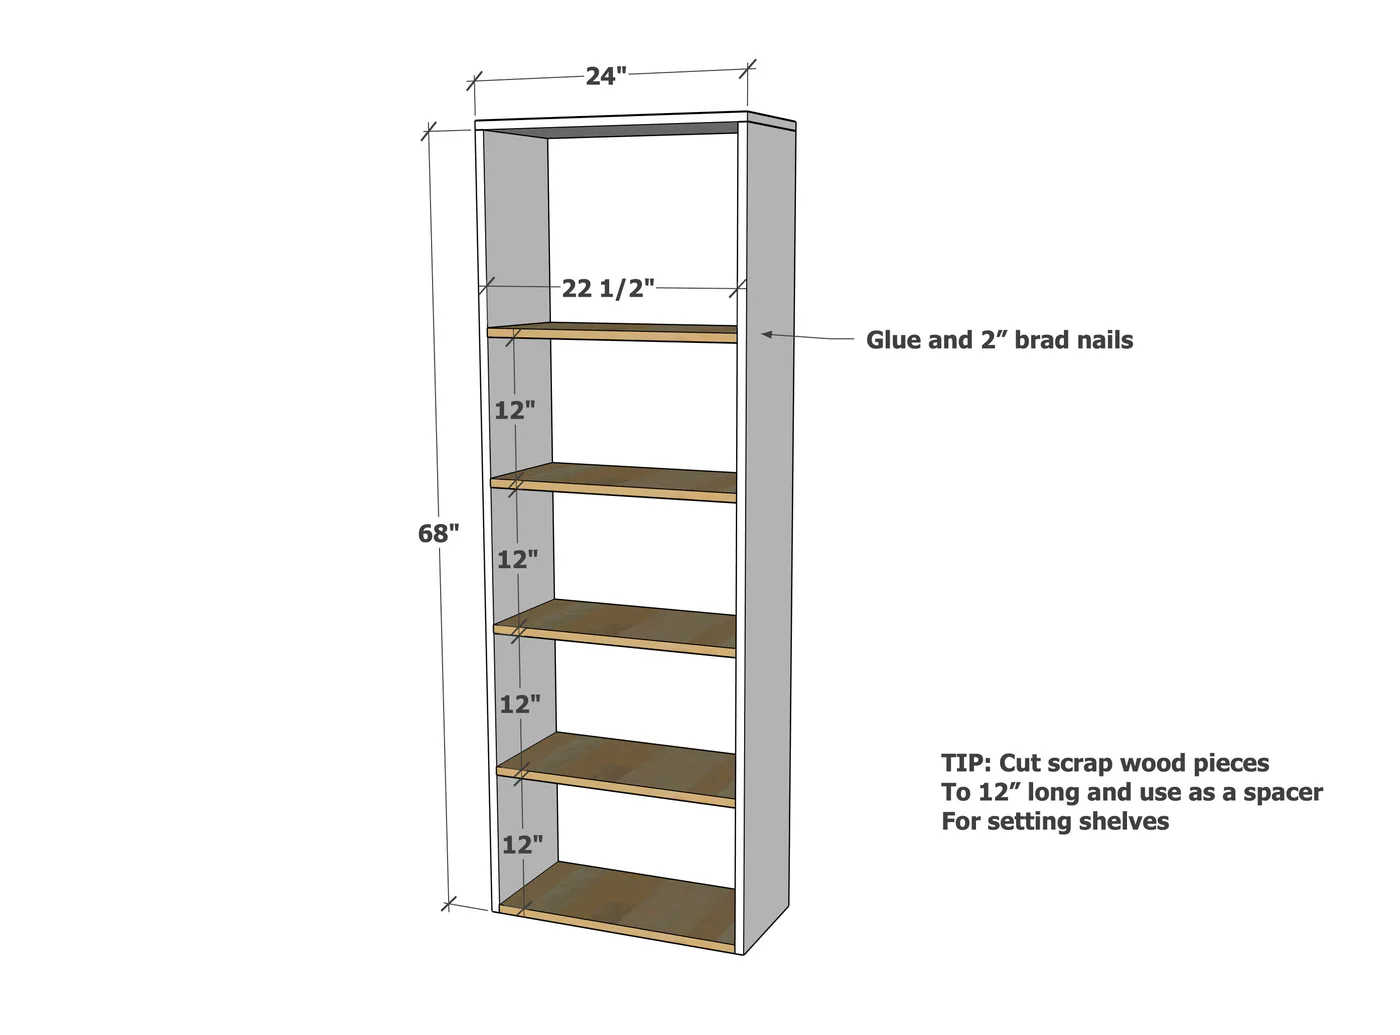
Step 2

Step 3

Step 4

Step 5

Step 6
Step 7

Step 8

Finishing
Sand all surfaces, starting with a medium grit and finishing with fine. Wipe off the dust, fill any holes or gaps with wood filler, and sand smooth once dry. Apply primer if you're painting, then finish with your choice of paint or stain and seal with a durable clear topcoat. For outdoor projects, use exterior-rated primer, paint or stain, and sealer so the piece stands up to the weather.