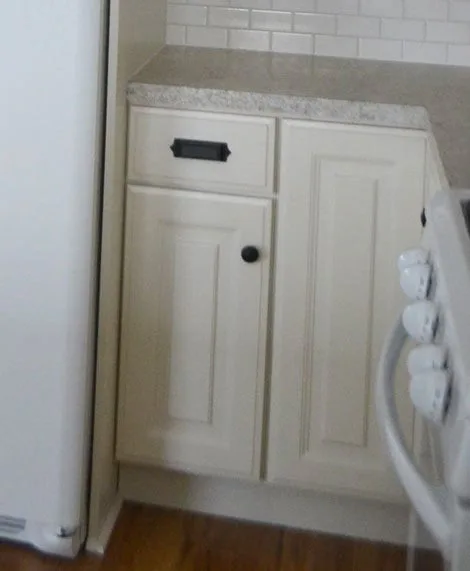
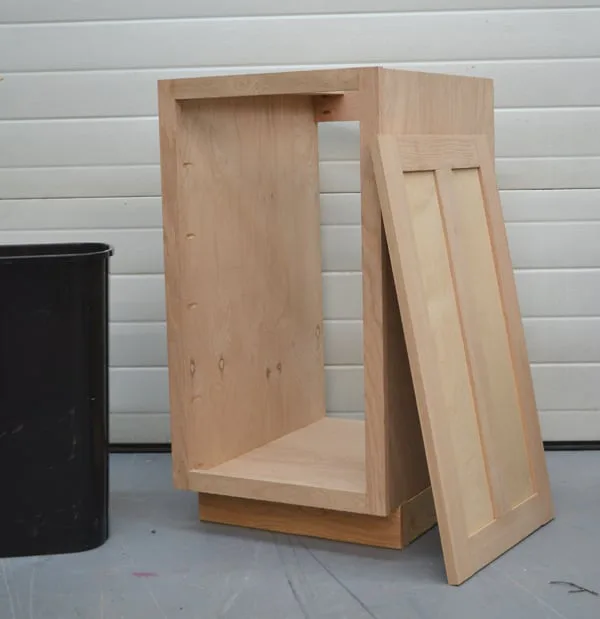
Euro Style Kitchen Sink Base Cabinet for our Tiny House Kitchen
to build your own kitchen. Sink base.

Dimensions
Use the size-specific shopping and cut lists below.

What you need
- 3/4" cabinet grade or hardwood plywood, ripped into strips 23" wide by 8 feet long (very important rip width is EXACTLY the same), prefinished PureBond is the best option
- 1x4 boards or scrap wood plywood for supports
- 1x2s in matching wood species as doors if staining or paint grade 1x2s for paint
- 2x6s for toekick build up
- 1/4" plywood for backs of cabinets
- 2 - 3/4" plywood @ 23" x 29-1/4" (sides)
- 1 - 3/4" plywood @ 23" x 34-1/2" (bottom)
- 3 - 1x4 or similar @ 34-1/2" (top and back supports)
- 1- 1x4 or similar @ 24-3/4" (front support)
- 1 - 1/4" plywood @ 29-1/4" x 36" (back)
- 2x6s for toekick base
- measuring tape
- square
- pencil
- safety glasses
- hearing protection
- kreg-jig
- drill
- compound miter saw
- table saw
- nailer
- sander
- Iron
Step by step
For a stained finish, apply edge banding to front exposed plywood edges of sides and bottom.
Drill 3/4" pocket holes along bottom end edges of bottom and attach to the sides with 1-1/4" pocket hole screws and wood glue.

Step 2
Attach top supports, placing pocket holes on top for strength and hiding.

Attach back support for attaching to the wall, also attaching to the top support.
Then attach center support to front support and bottom.

Step 4
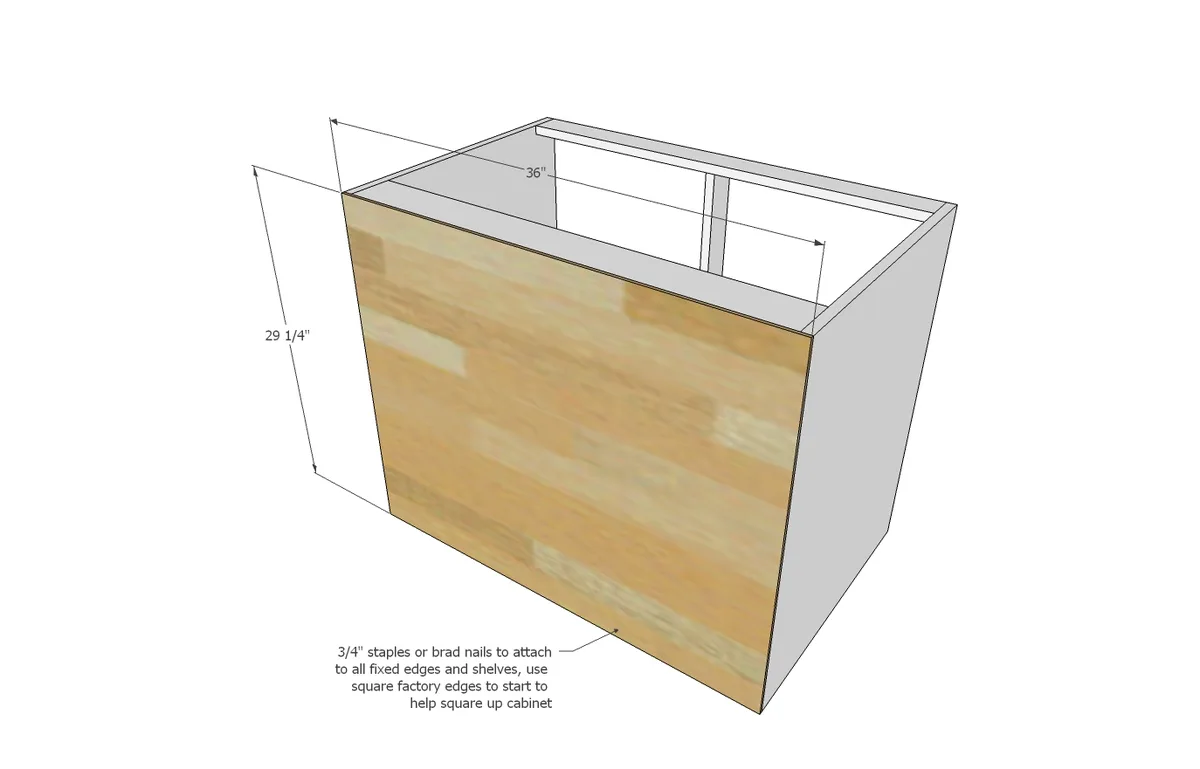
Attach back, starting with factory edges, using glue and 3/4" staples or nails to attach to back of cabinet.
Step 5
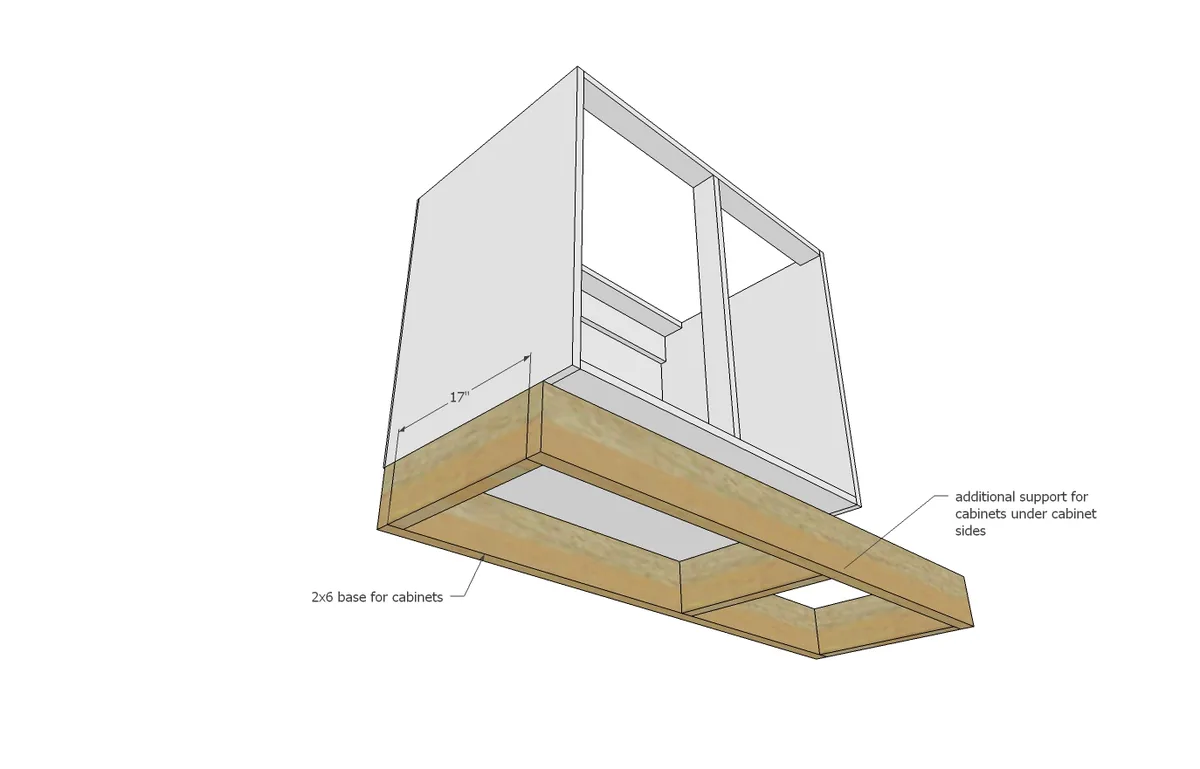
Step 6
Door sizes are shown. Use Frameless cabinet 1/2" overlay euro style hinges to attach doors.

Finishing
Sand all surfaces, starting with a medium grit and finishing with fine. Wipe off the dust, fill any holes or gaps with wood filler, and sand smooth once dry. Apply primer if you're painting, then finish with your choice of paint or stain and seal with a durable clear topcoat. For outdoor projects, use exterior-rated primer, paint or stain, and sealer so the piece stands up to the weather.