Eclectic Bookshelf
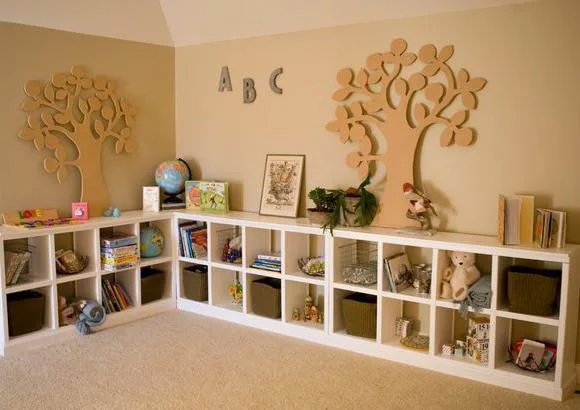
I've been waiting forever to have a chance to get rid of some plywood scraps we've had in our garage. I finally put them to good use and made what I think is a pretty awesome bookshelf!:).
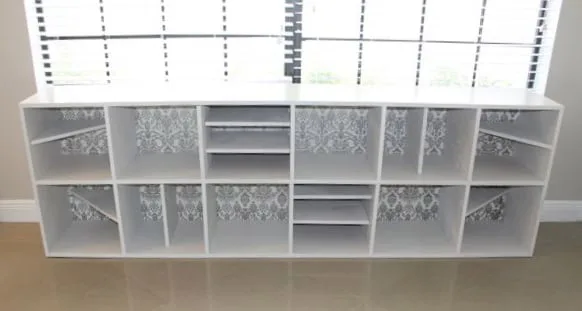
Dimensions
Use the size-specific shopping and cut lists below.
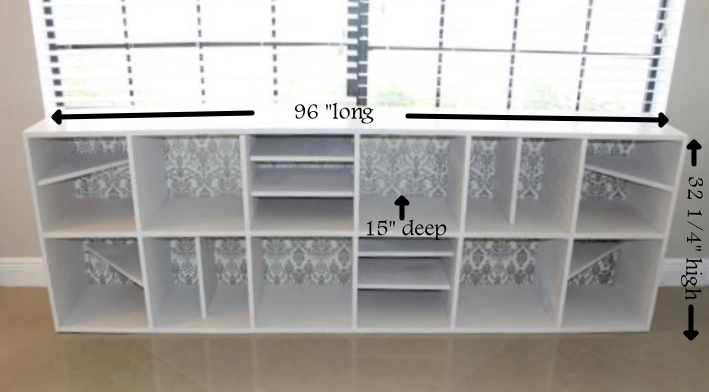
What you need
- 2 sheets of plywood or MDF
- 1 sheet of Masonite
- Wood Glue
- Screws
- Kreg Jig
- 1 1/4" Kreg Jig Screws
- Paint
- Clamps
- Finishing Nails
- Hammer
- 3 support shelves at 15×96 (have the home improvement store do this for you)
- 12 shelves/dividers at 15×15
- 2 side panels at 32 1/4
- scraps
***Please double check my measurements. I used a whole bunch of scraps thus, I didn’t have to buy an extra sheet of plywood. The cut list below is based off of what I think you’ll need to create this bookshelf.
- measuring tape
- pencil
- hammer
- safety glasses
- kreg-jig
- drill
- sander
Step by step
Step 1
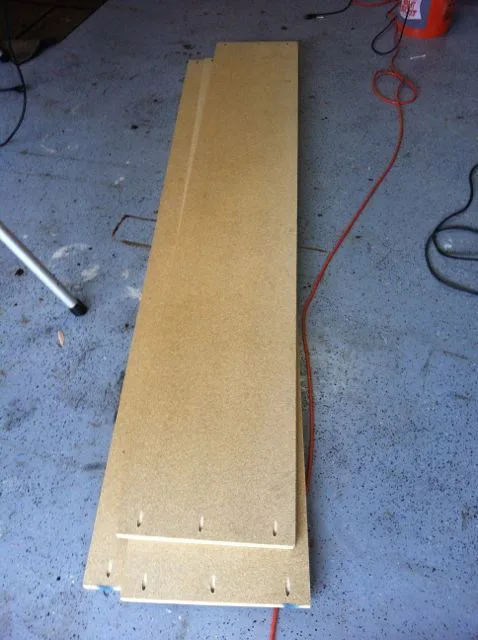
Kreg Jig three holes to the ends of each 15" x 96" board.
Step 2
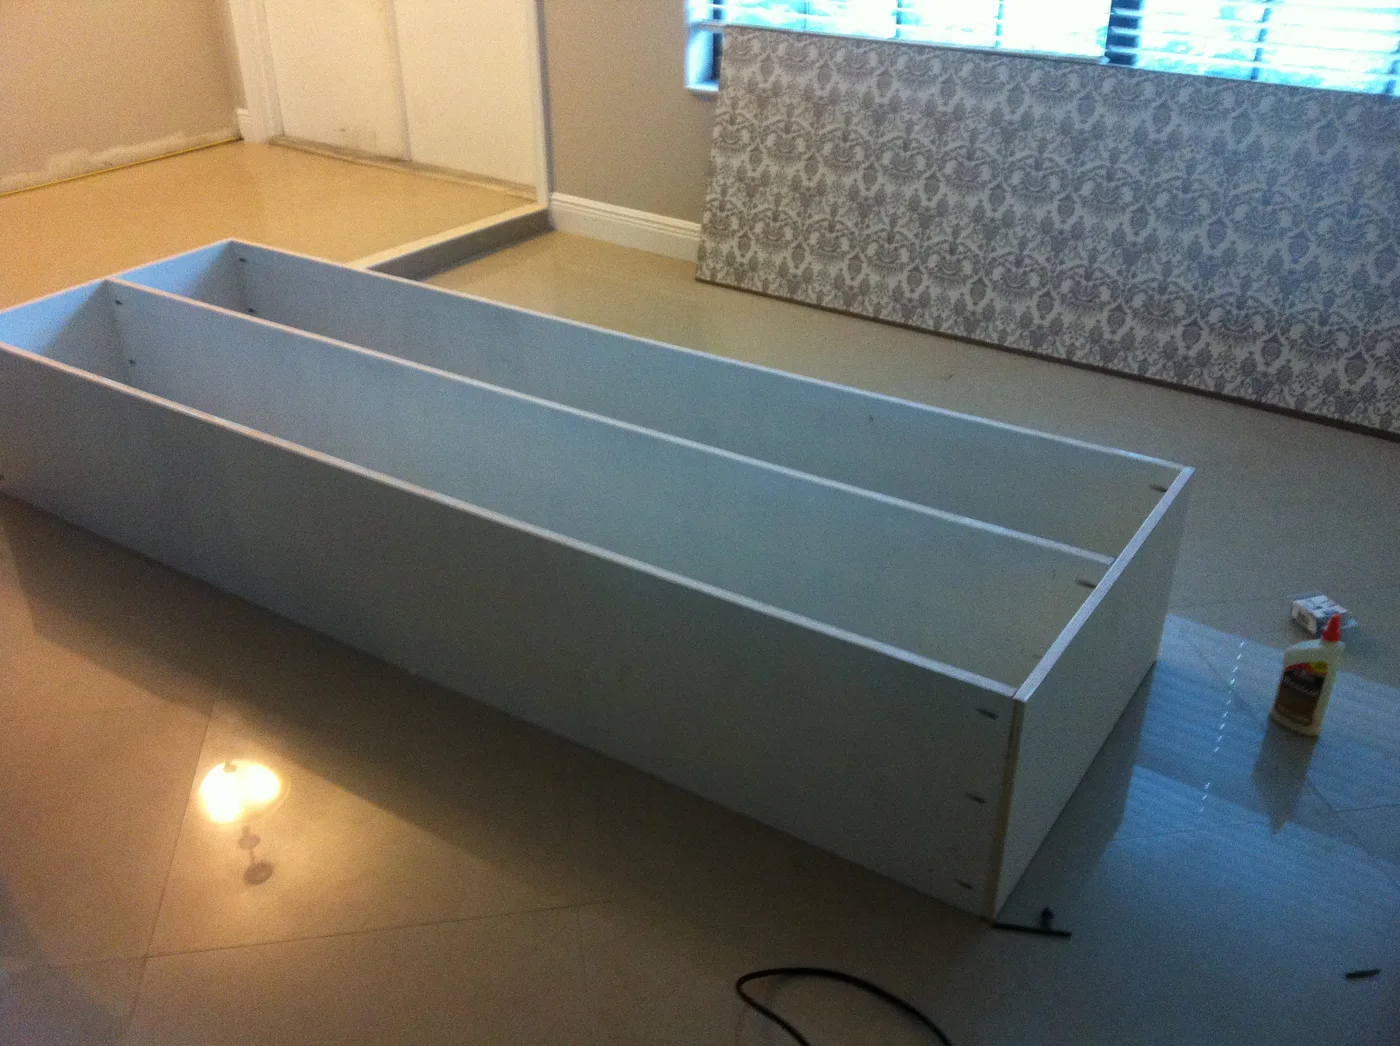
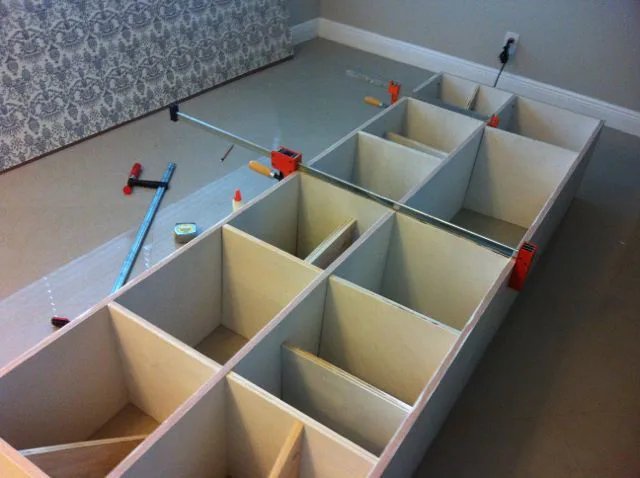
Attach 15x96 support boards to the two 32 1/4" side boards. Make sure the the middle board is centered with the side boards and make sure that your Kreg Jig screws are facing down.
Step 3
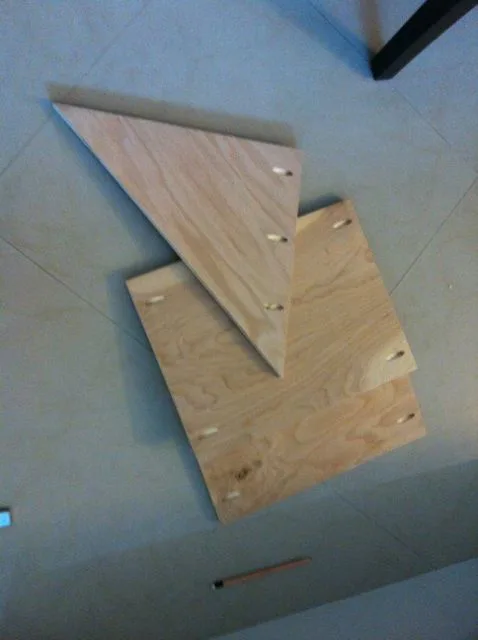
Kreg Jig holes into your shelves/divider pieces.
Step 4
Divide 10 15x15 boards evenly throughout the bookshelf (one board at 16" in, then 32", 48", 64", and 80". Glue the boards in place, clamp, let dry.
Finishing
Sand all surfaces, starting with a medium grit and finishing with fine. Wipe off the dust, fill any holes or gaps with wood filler, and sand smooth once dry. Apply primer if you're painting, then finish with your choice of paint or stain and seal with a durable clear topcoat. For outdoor projects, use exterior-rated primer, paint or stain, and sealer so the piece stands up to the weather.