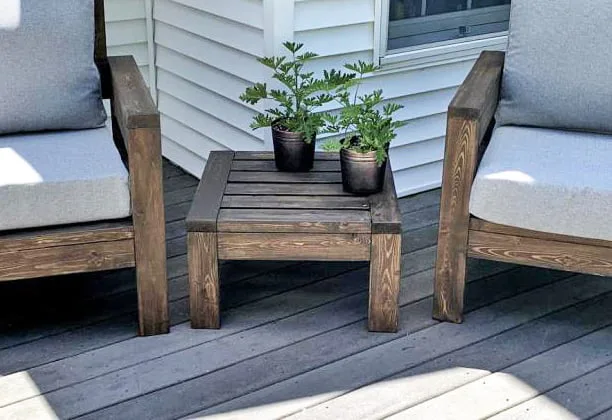
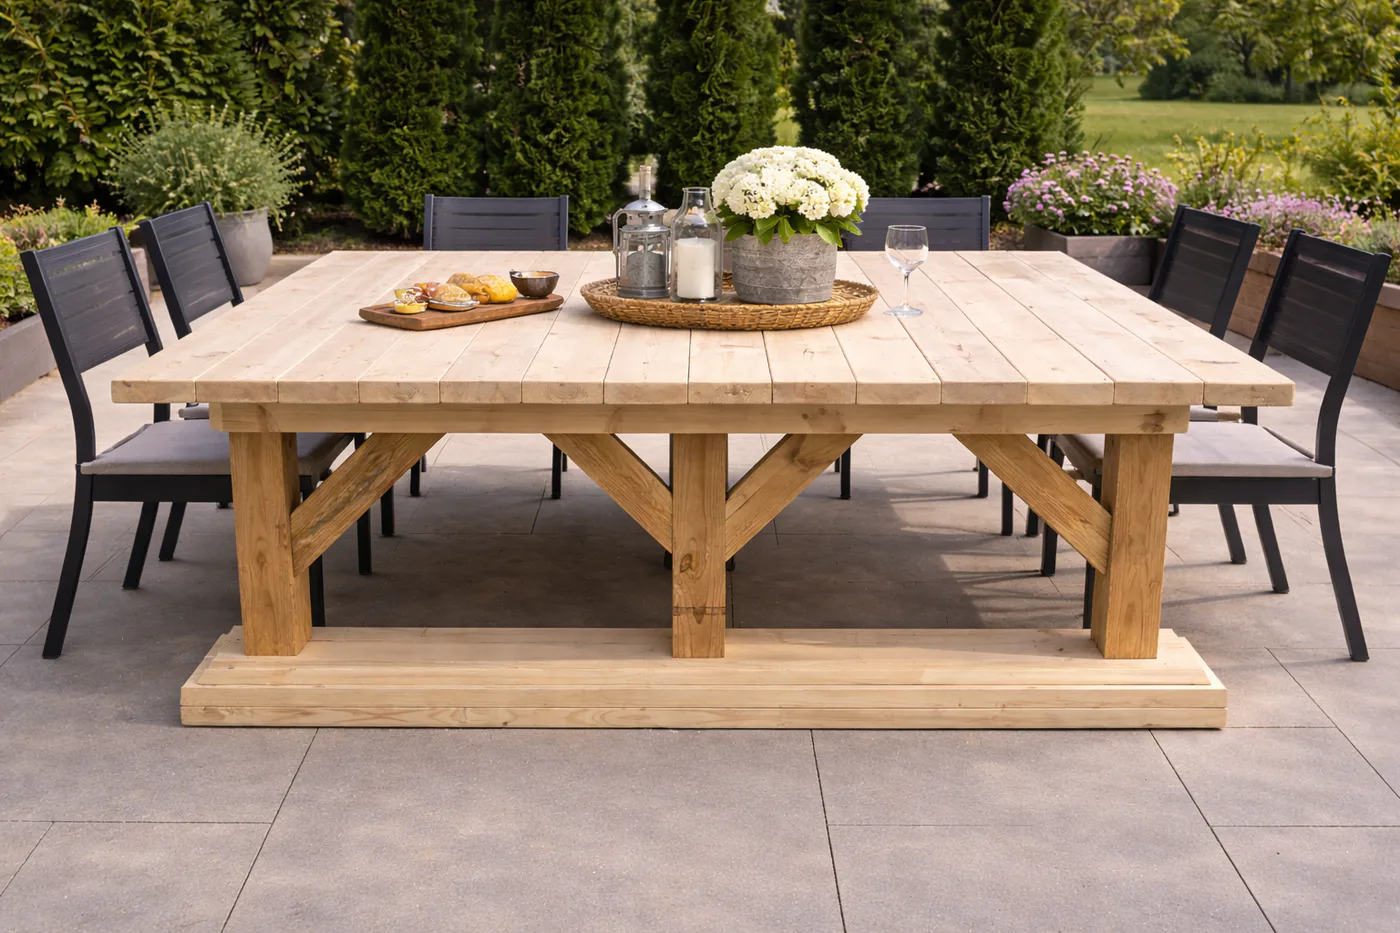
Double Wide Outdoor Table
Build your own double wide outdoor table, featuring extra seating for large gatherings and parties, and diagrams, cut list and shopping list.
Dimensions
Use the size-specific shopping and cut lists below.

What you need
- 19 - 2x6x8
- 6 - 1x6x8
- 4 - 2x4x8
- 2- 4x4x8
- 2 - 1x3x6 (for added support - see Jaime's post)
- 2" and 2-1/2" exterior screws
- 2-1/2" pocket hole screws
- BASE
- 6 - 4x4 @ 23"
- 2 - 1x6 @ 58"
- 2 - 1x6 @ 60"
- 2 - 2x6 @ 60" - shortest point measurement - both ends BEVELED at 45 degrees off square, ends NOT parallel
- 2 - 2x6 @ 63" CUT TO FIT! - shortest point measurement - both ends BEVELED at 30 degrees off square, ends NOT parallel
- 2 - 2x6 @ 64-7/8" CUT TO FIT! - shortest point measurement - both ends BEVELED at 15 degrees off square, ends NOT parallel
- 8 - 2x4 @ 16-3/4" - both ends cut at 45 degrees off square, ends ARE parallel to each other, long point to short point measurement
- 2 - 2x4 @ 55-1/2" (stretchers)
- 2 - 2x6 @ 64-1/2"
- 3 - 2x6 @ 48"
- 2 - 1x6 @ 66"
Tabletop boards are 90" long - use less for spacing in between
- measuring tape
- square
- pencil
- safety glasses
- hearing protection
- kreg-jig
- drill
- jigsaw
- compound miter saw
- staple gun
- countersink drill bit
Step by step
Step 1
Attach three of the posts to the 1x6 end apron and the 1x6 for the bottom. Screws are recommended - use exterior screws for outdoor application. Predrill holes to prevent splitting. Screws must be at least 2" long but could be longer if you want to use the same screws as the rest of the assembly.

Step 2
Attach base to the first 2x6 board (ends cut at 45 degrees). To hide screws, attach from underside. 2" screws and glue are recommended here.
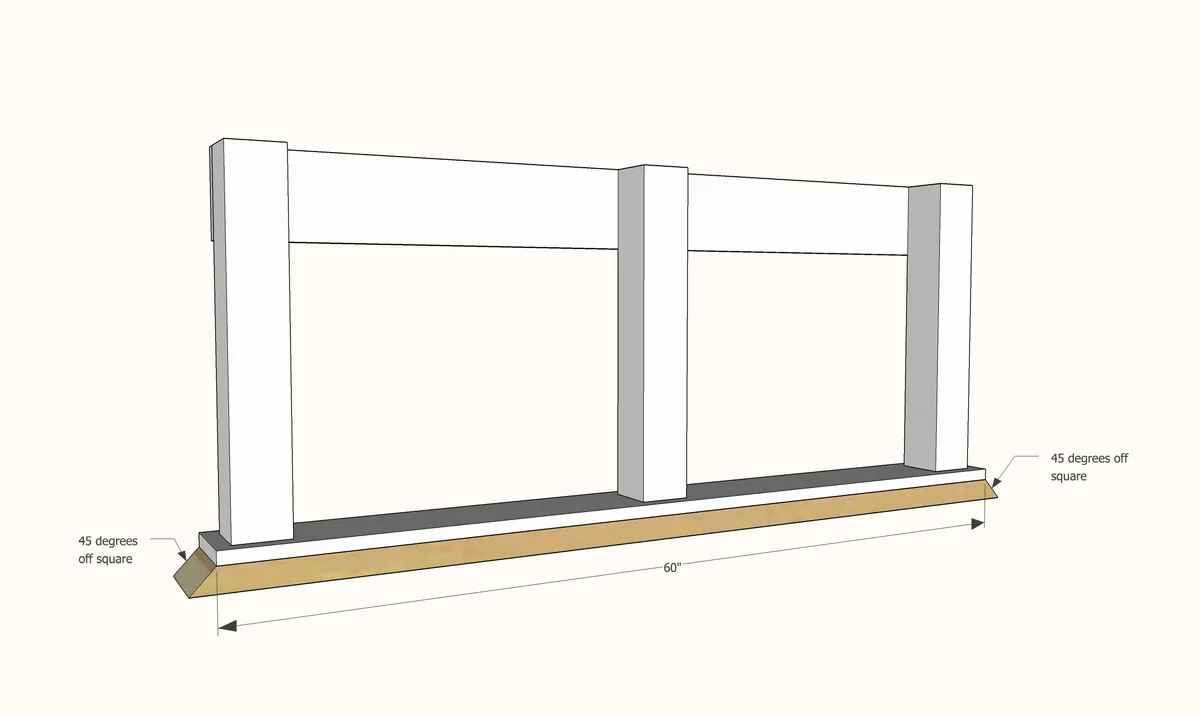
Step 3
Attach next layer of 2x6 under the previous 2x6. Measure and cut to ensure perfect fit. Use 2-1/2" screws here.

Step 4
Add the final bottom 2x6 same as the previous one.

Step 5
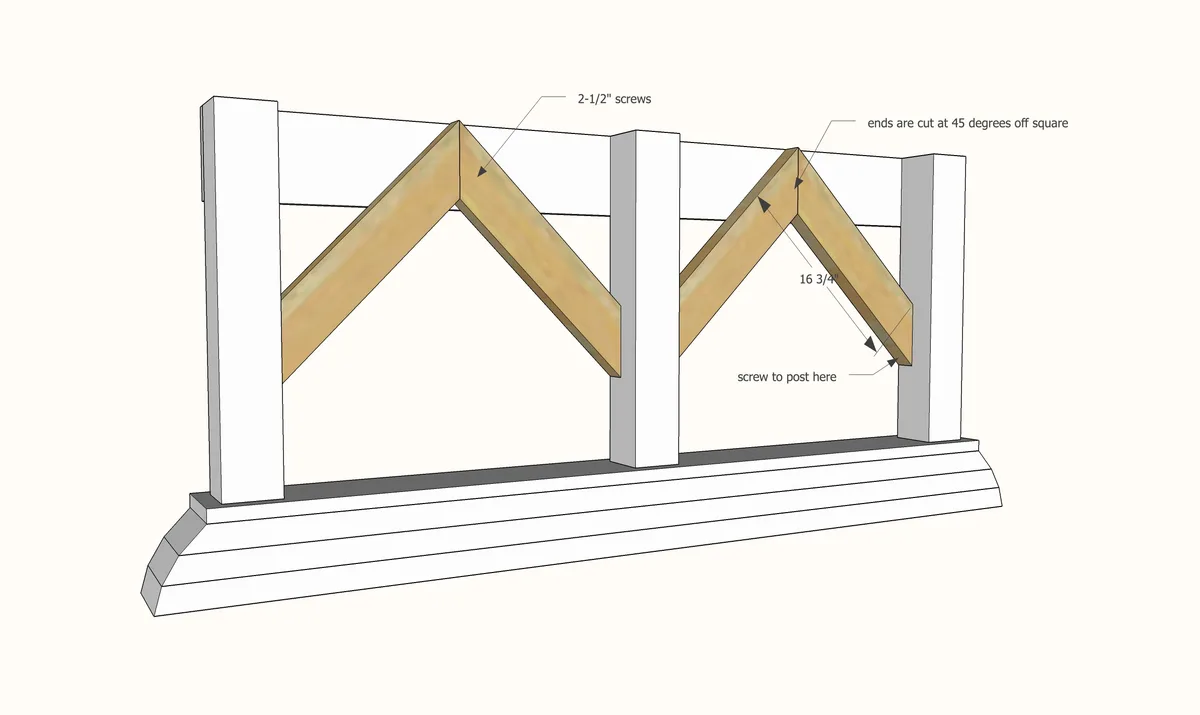
Step 6
Attach stretchers to base.

Step 7
Use 2-1/2" screws to attach aprons to legs. Then attach joist to the 2x6 aprons. You'll need these for attaching the tabletop board to.

Step 8
Attach outer aprons to the outsides of the 4x4 legs. Use 2" screws and glue.

Step 9
Attach tabletop boards to joists and legs with 2-1/2" screws.

Finishing
Sand all surfaces, starting with a medium grit and finishing with fine. Wipe off the dust, fill any holes or gaps with wood filler, and sand smooth once dry. Apply primer if you're painting, then finish with your choice of paint or stain and seal with a durable clear topcoat. For outdoor projects, use exterior-rated primer, paint or stain, and sealer so the piece stands up to the weather.