Crown Ledges
Build a crown moulding ledge shelf!
Dimensions
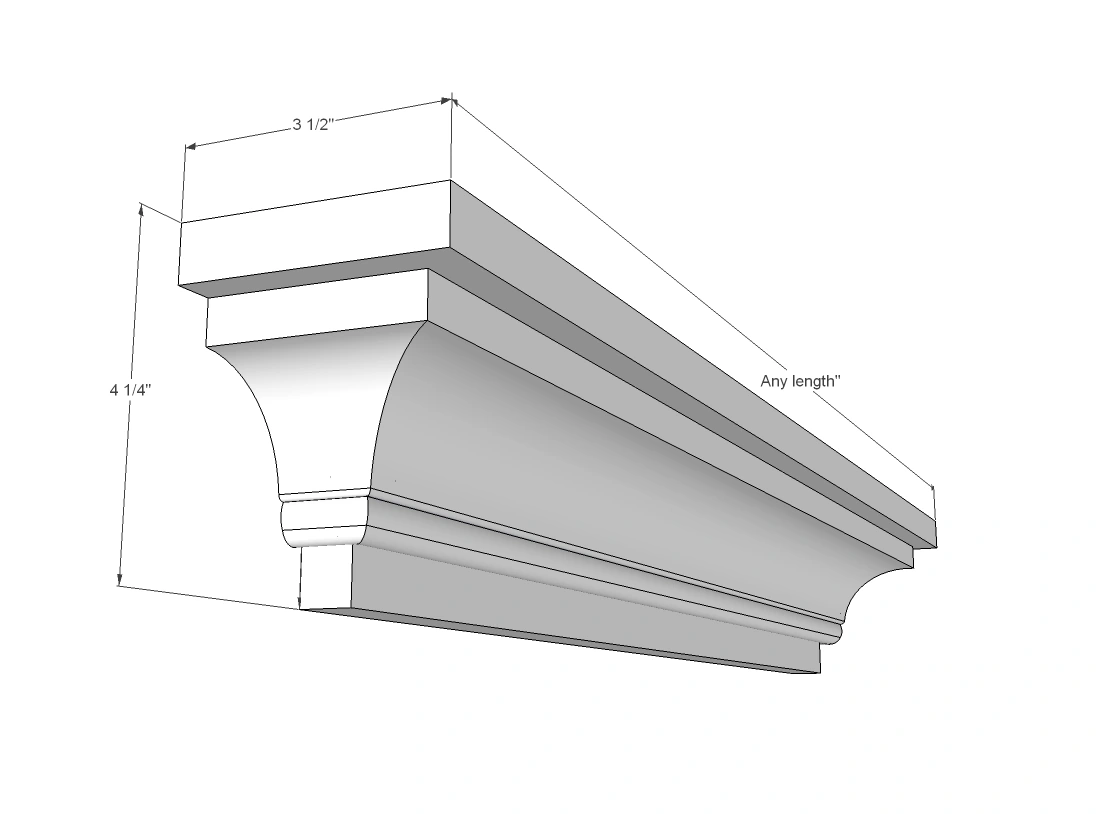
Use the size-specific shopping and cut lists below.
What you need
- 1x4s - approximately twice as much in length as the desired length of shelving OR for taller crown use a 1x5 or 1x6 for the back (1x4 in desired shelf length, 1x5 or 1x6 in desired shelf length)
- 2" fasteners or 1 1/4" PH screws
- 3/4" finish nails and wood glue
Crown moulding no more than 2 3/4" installed dimension width (you will need approximately the length of your shelf + 12" to accommodate those tricky corners)
- 1 - 1x4 in desired shelf length
- 1 - 1x4 OR 1x5 OR 1x6 (depending on crown height) 5 1/2" LESS than desired shelf length
- 1 - Crown, shortest point to shortest point edge length of BACK, both ends double beveled outward
- 2 - Crown, cut in MIRROR, with one end double beveled outward - cut to fit
- measuring tape
- square
- pencil
- safety glasses
- hearing protection
- kreg-jig
- drill
- compound miter saw
- nailer
- sander
Step by step
Step 1
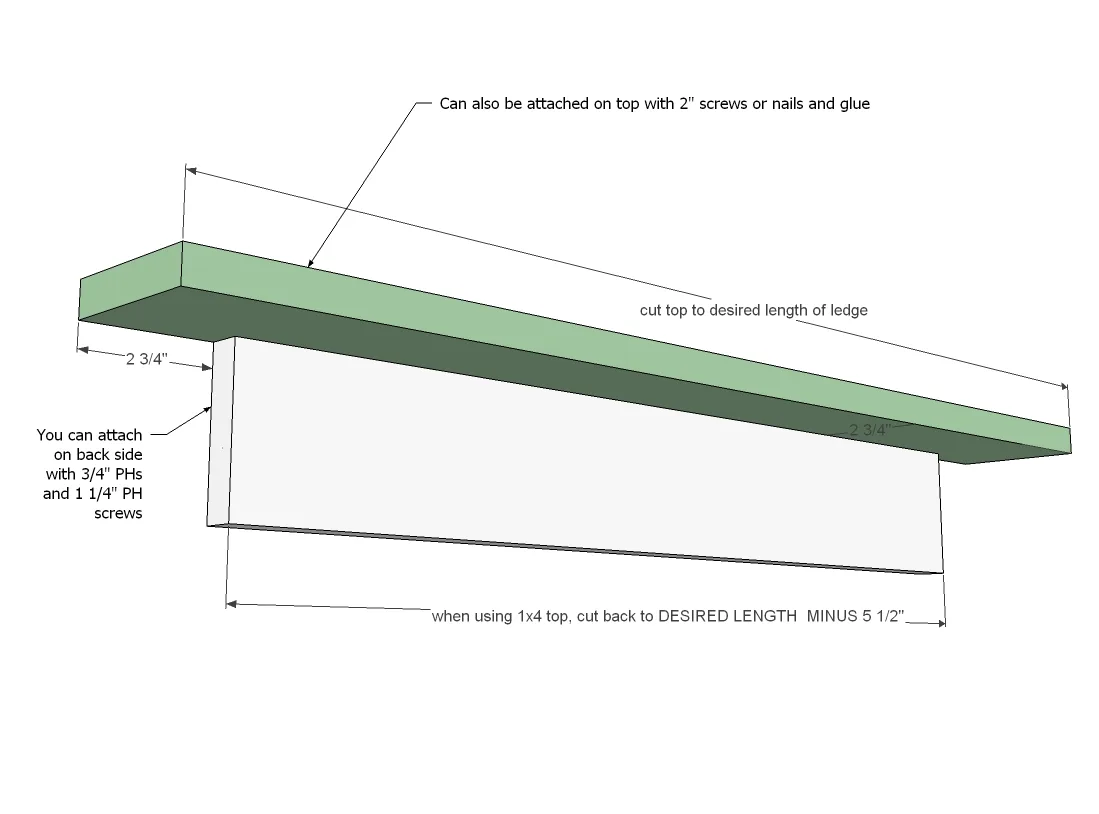
First determine the desired length of your crown moulding ledge. This is the length of your top board. Then subtract 5 1/2" and cut a 1x4 (or for taller crown, a 1x5 or 1x6) for the back to this length. Attach the two boards together, with a 2 3/4" overhang on each end, back is flush.
Step 2
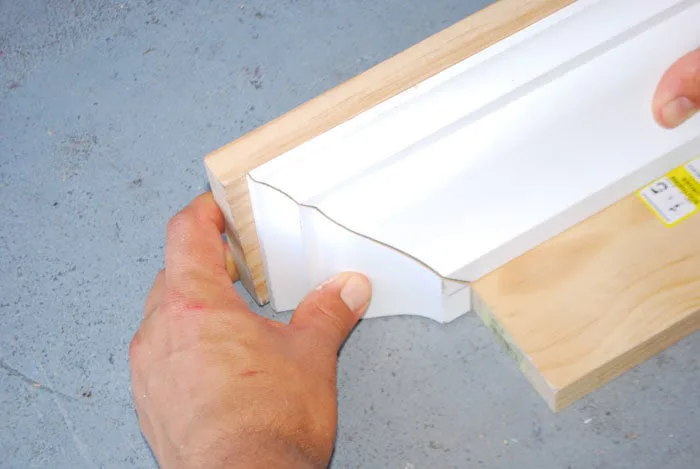
Start with the center crown piece, cut along bottom edge, shortest point to shortest point the length of your back piece. The ends are mitered outward to wrap the shelf.

Step 3
And then cut your two ends. What I do is take my remaining scraps and cut the right angle to match and end. Match the corners up, and mark length. Cut and attach. Then repeat in MIRROR on the opposite side.

Step 4
If you used pocket holes, you can use them as "keyholes" for hanging. You can also buy hardware to assist with hanging.
Finishing
Sand all surfaces, starting with a medium grit and finishing with fine. Wipe off the dust, fill any holes or gaps with wood filler, and sand smooth once dry. Apply primer if you're painting, then finish with your choice of paint or stain and seal with a durable clear topcoat. For outdoor projects, use exterior-rated primer, paint or stain, and sealer so the piece stands up to the weather.