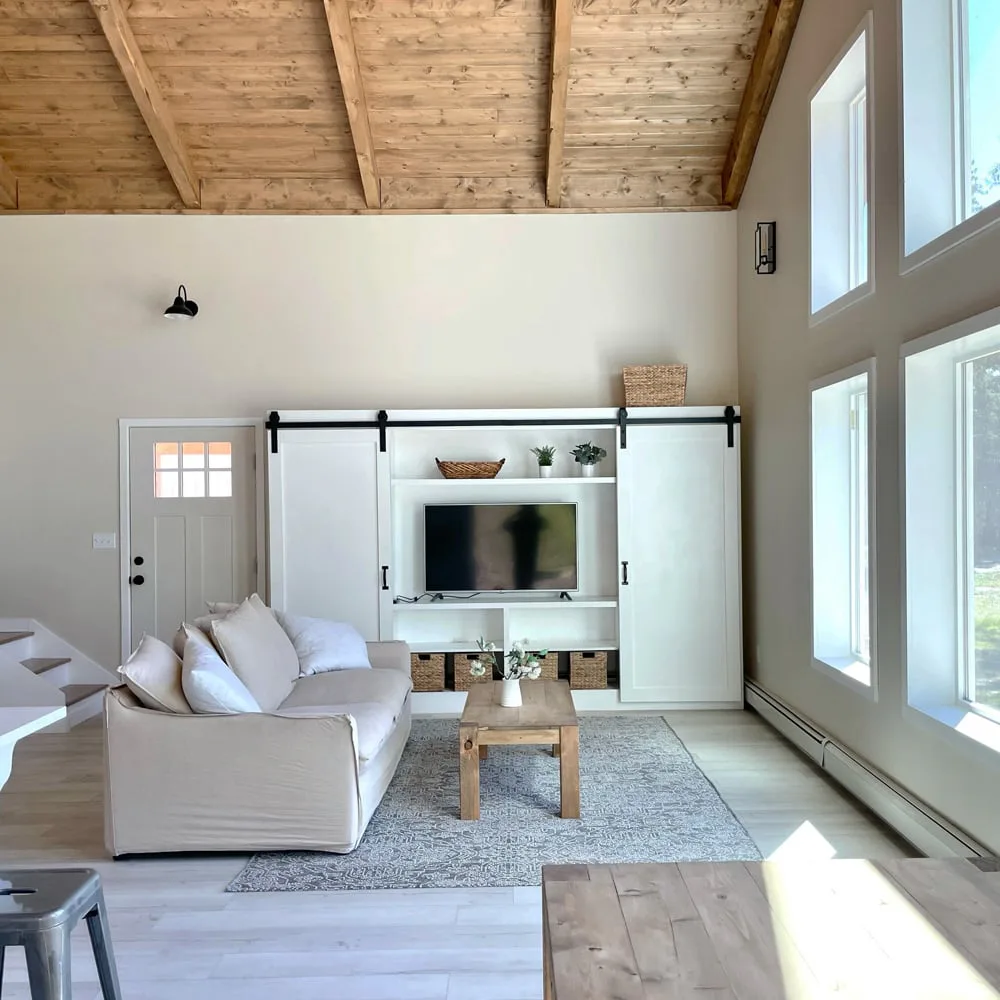
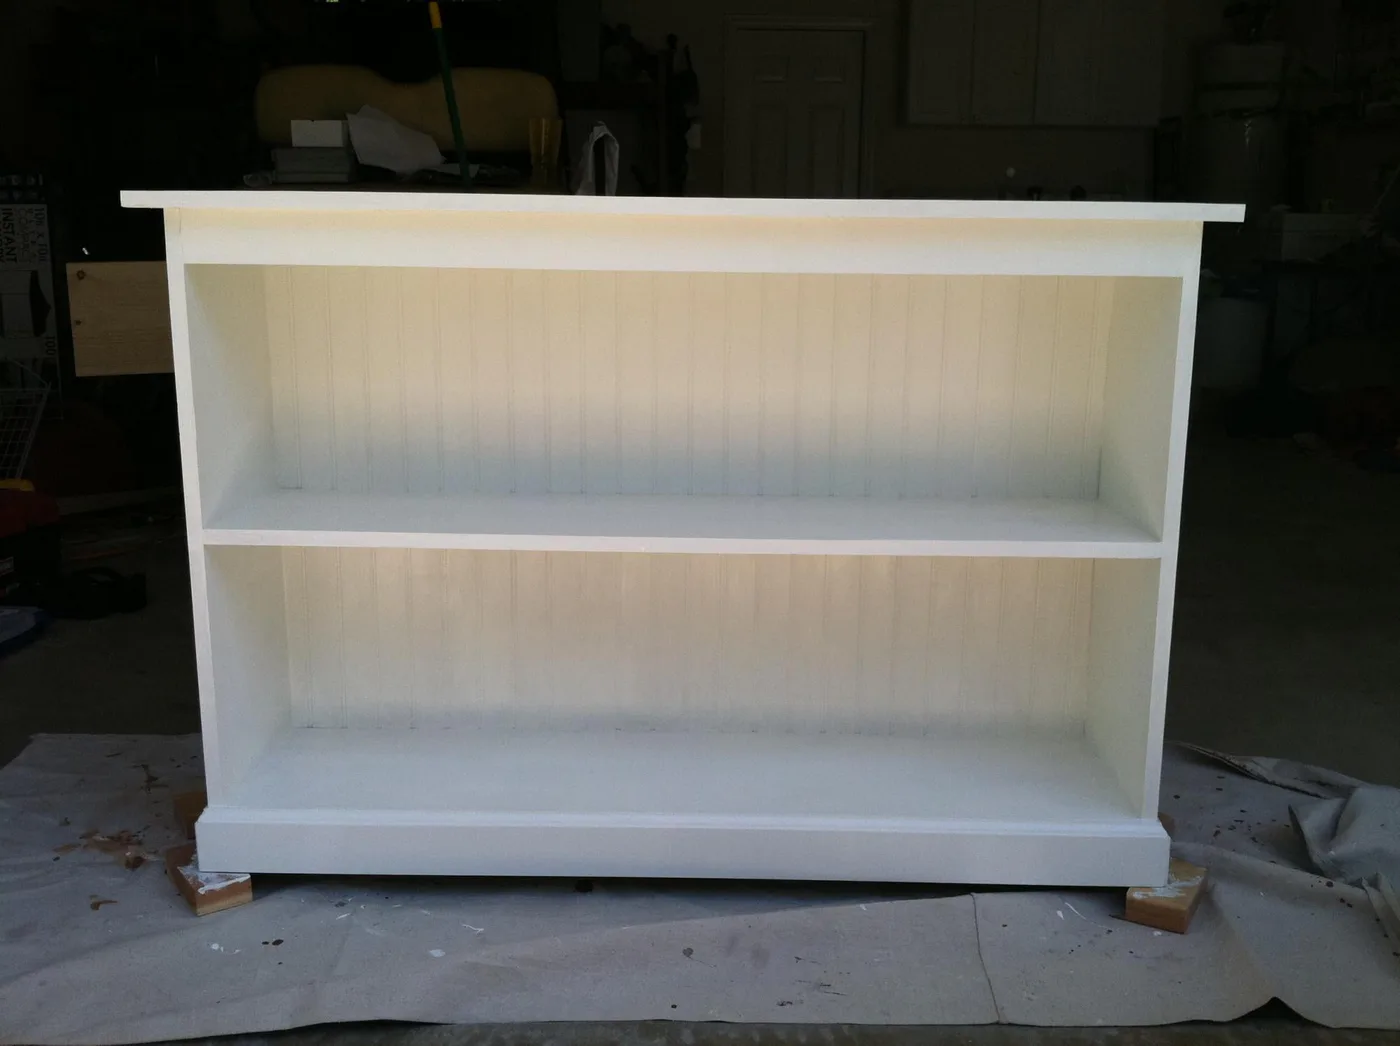
Center Media Console (Rebecca Media Suite)
Build your own media wall! You can customize to fit your needs and space easily. This plan is for the center entertainment console piece. This collection includes everything you need to build an entire media wall.

Dimensions
Use the size-specific shopping and cut lists below.

What you need
- 1 sheet 3/4" plywood
- 1 sheet 1/4" plywood
- 5- 8ft 1x2's
- 3- 8ft 1x3's
- 54" base molding
- 3/4" Plywood
- 1 @ 11 3/4" x 54"
- 2 @ 11 3/4" x 33 3/4"
- 2 @ 11 3/4" x 52 1/2"
- 2 @ 11 3/4" x 21 3/4"
- 1 @ 7 3/4" x 50 3/4"
- 1/4" plywood
- 3 @ 11 3/4" x 16 1/2" (These are your inset door fronts) you might want to measure and cut specifically for what you need especially if you are not insetting your doors into their frames.
- 1 @ 34 1/2" x x54"
- 1x2's
- 2 @ 52 1/2"
- 2 @ 32 1/4"
- 2 @ 54"
- 2 @ 20 3/4"
- 1 @ 51" 1x3's
- 1 @ 51"
- 6 @ 20 1/2" (These are for your door frames cut on a miter. This will be a different measurement if you are doing butt joint doors)
- 6 @ 10 3/4" (These are for your door frames cut on a miter. This will be a different measurement if you are doing butt joint doors)
- 2" base molding
- 1 @ 54"
- measuring tape
- square
- pencil
- hammer
- safety glasses
- hearing protection
- kreg-jig
- drill
- compound miter saw
- table saw
- nailer
- sander
- level
Step by step
Step 1
Easy step - just start by attaching sides to top.

Step 2
Now the shelves.

Step 3
Now add the dividers between the shelves.

Step 4
These are to provide support for the bottom shelf.

Step 5

Step 6
Now the front edge trim...

Step 7
And the bottom moulding gets nailed on.

Step 8
And finally the doors. Rebecca is going to put together a post on doors later this week, so check back for that.

Step 9
This piece is a fake drawer front and opens with hinges. I did some miss-measuring in my face frame so the piece I cut did not fit when I went to assemble it. I could have fixed it, but had these boxes already that fit perfectly so decided to leave it off.

Step 10
And add the back. I always like to add the back last so I can work on hinges and such from the back.

Finishing
Sand all surfaces, starting with a medium grit and finishing with fine. Wipe off the dust, fill any holes or gaps with wood filler, and sand smooth once dry. Apply primer if you're painting, then finish with your choice of paint or stain and seal with a durable clear topcoat. For outdoor projects, use exterior-rated primer, paint or stain, and sealer so the piece stands up to the weather.