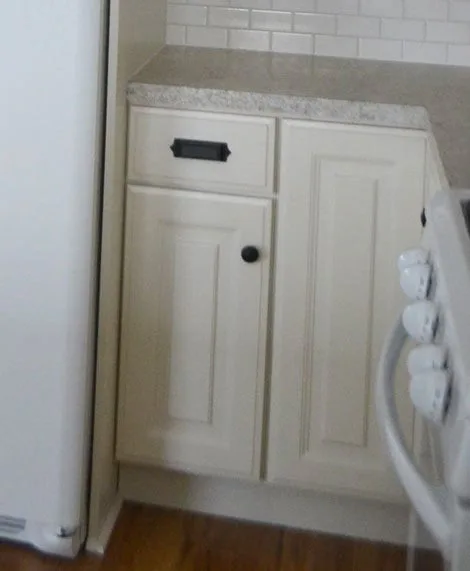
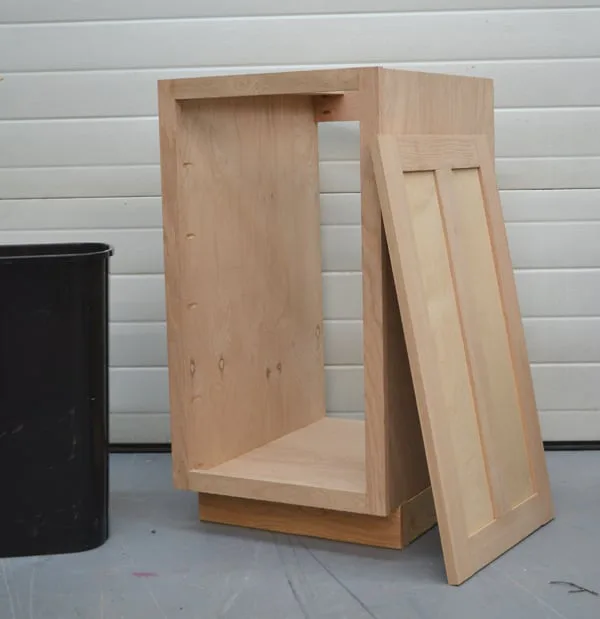
45" Wall Kitchen Cabinet
Things have definitely been slower this time around, mostly due to the arrival our our son...

Dimensions
Use the size-specific shopping and cut lists below.

What you need
- 1 - sheet 3/4" plywood ripped into strips of your cabinet depth (we choose 10-1/4") - you'll use about 3/4 of the plywood for this cabinet* (save scraps for using as supports)
- 1/2 sheet of 1/4" plywood*
- 2 - 1x2 @ 6' (to be safe, you may want to purchase one at 8')
- 1 - 1x3 @ 27"
- 1-1/4" pocket hole screws
- 3/4" finish nails(for nailing back on)
*Used prefinished plywood
- CARCASS
- 2 - 3/4" plywood 10-1/4" x 30" (sides)
- 2 - 3/4" plywood @ 10-1/4" x 43" (top and bottom)
- 1 - 1/4" plywood @ 44-1/2" x 30" (back)
- 1 - 1x4 or plywood scrap 43" long (inside support)
- 2 - 1x2 @ 27"
- 1 - 1x3 @ 27"
- 2 - 1x2 @ 45"
- SHELVES
NOTE: We choose a cabinet depth of 12" overall INCLUDING the doors, face frame and backs, so we ripped our plywood to 10-1/4". You can choose a different depth, just make sure you consistently use the same depth from cabinet to cabinet.
FACE FRAME
Same as top and bottom, but cut down 1/4" on front and ends to allow for edge banding and shelf pins
- measuring tape
- square
- pencil
- safety glasses
- hearing protection
- kreg-jig
- drill
- circular saw
- compound miter saw
- table saw
- nailer
Step by step
Step 1
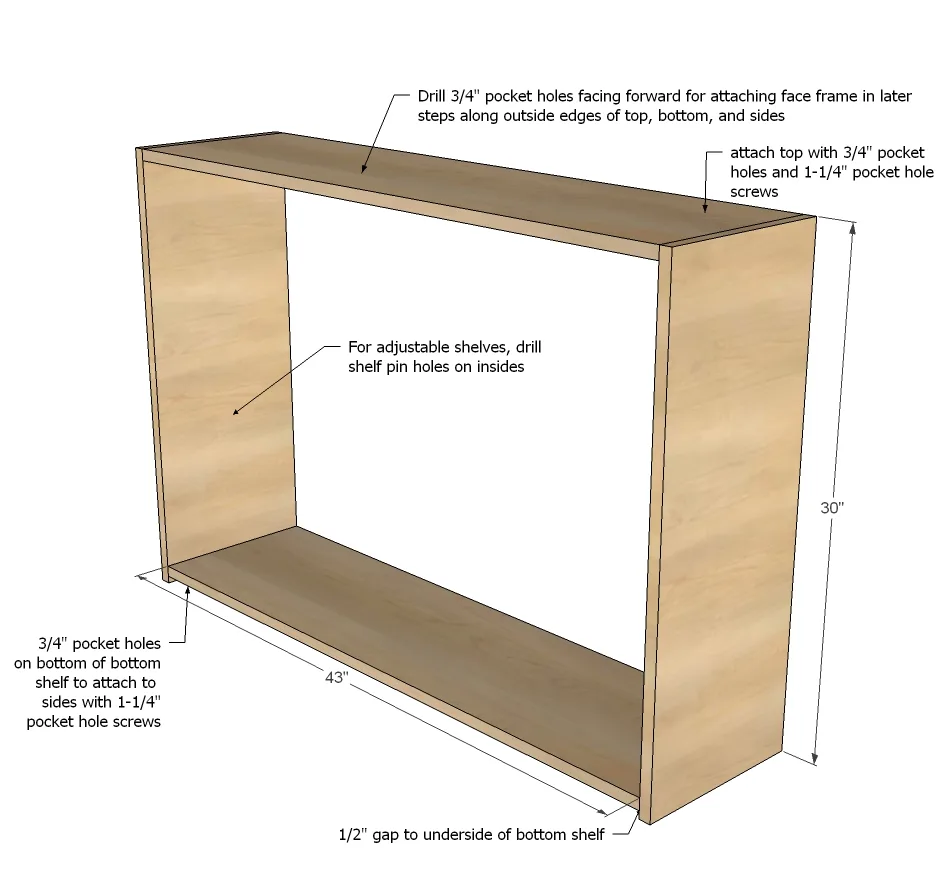
First step is to build the basic box of the cabinet. We do this with 3/4" pocket holes and 1-1/4" pocket hole screws. We also like to attach our face frames with pocket holes, so we drill 3/4" pocket holes along the outside front edges of the sides, top and bottom. Neighboring cabinets will hide - or for an end cabinet, you add a piece of 1/4" plywood that is finished to match the doors and face frames.
Step 2
Next, we use a scrap piece of plywood from ripping the sides to create a top support. This board is used for hanging the cabinet on the wall.

We then attach the back with 3/4" finish nails and glue.
All the pieces up to this point we use prefinished plywood for. That way nothing has to be finished inside the cabinet!

Step 4
Next, we build the face frame using 3/4" pocket holes and 1-1/4" pocket hole screws. Then we attach face frames with 1-1/4" pocket hole screws through the predrilled holes from step 1.

Step 5

Step 6
For full overlay doors that standard hinge on the outsides, this is the door sizes you would build or order. If you want the doors to open to the same side, the doors would be 21-3/4" and 22-1/4" (using 1-1/4" overlay hinges).

Finishing
Sand all surfaces, starting with a medium grit and finishing with fine. Wipe off the dust, fill any holes or gaps with wood filler, and sand smooth once dry. Apply primer if you're painting, then finish with your choice of paint or stain and seal with a durable clear topcoat. For outdoor projects, use exterior-rated primer, paint or stain, and sealer so the piece stands up to the weather.