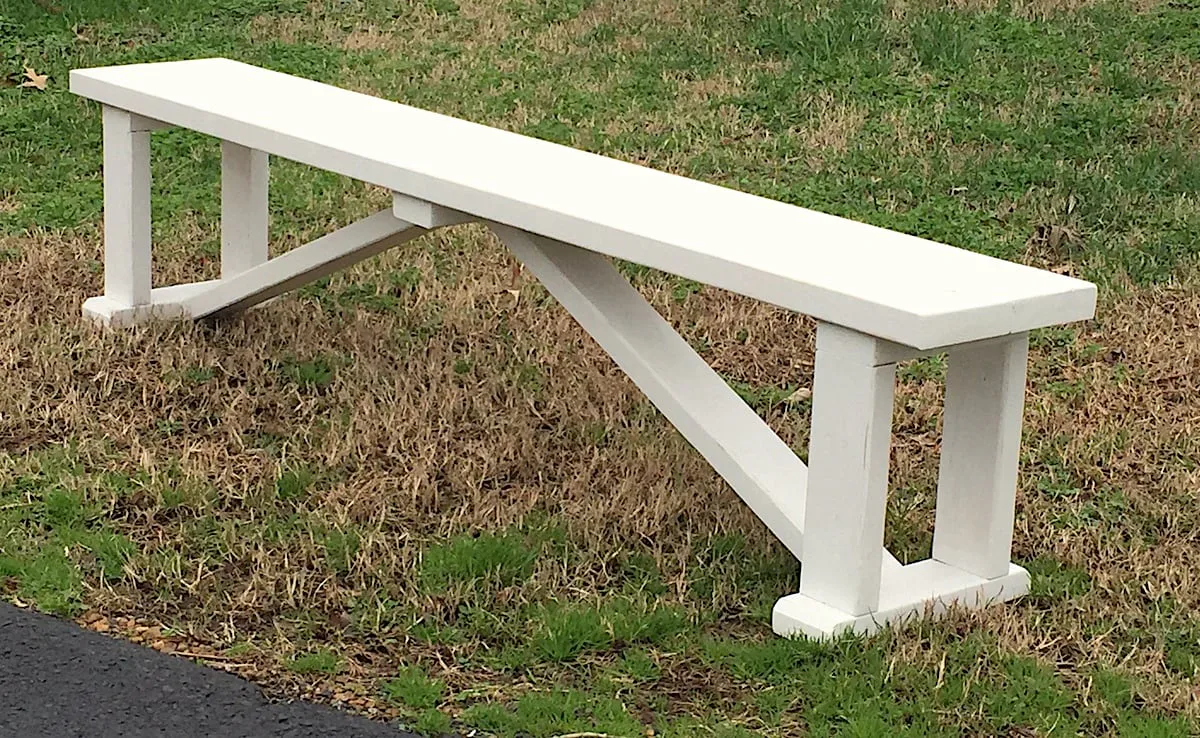
2x4 Truss Style Farm Bench
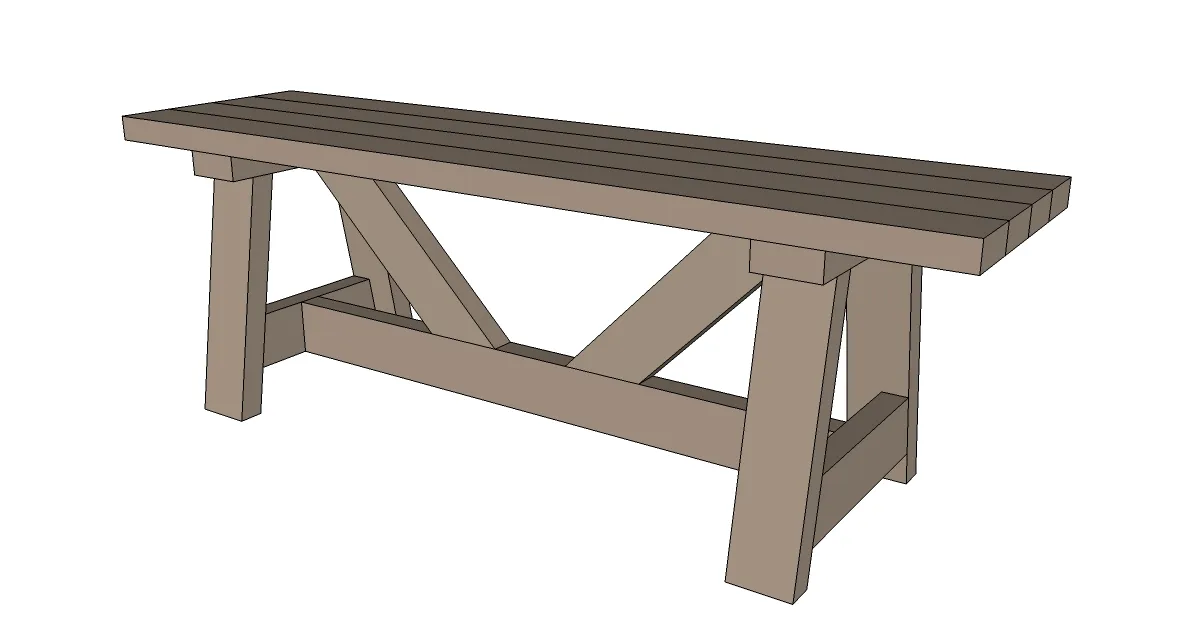
Make this sturdy and beautiful truss style bench with just 5 2x4s - we make it easy with step by step plans and diagrams. Also build the matching table plans.
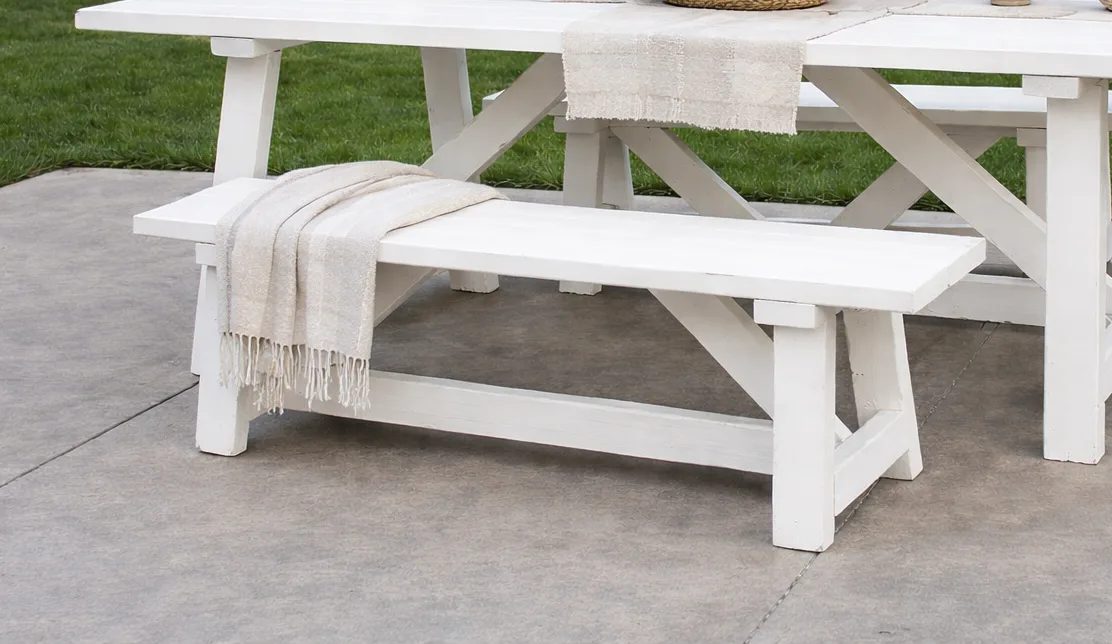
Dimensions
Use the size-specific shopping and cut lists below.

What you need
- 5 – 2x4 @ 8 feet long – cut longest boards first
- 2-1/2" self tapping wood screws (star bit)
- Optional 1x3 under bench supports
- 2 – 2x4 @ 14”
- 4 – 2x4 @ 15 1/4" – both ends beveled at 10 degrees off square, ends ARE parallel
- 2 – 2x4 @ 12 1/2" – long point to long point, both ends cut at 10 degrees off square, NOT parallel
- 1 – 2x4 @ 34”
- 1 – 2x4 @ 38”
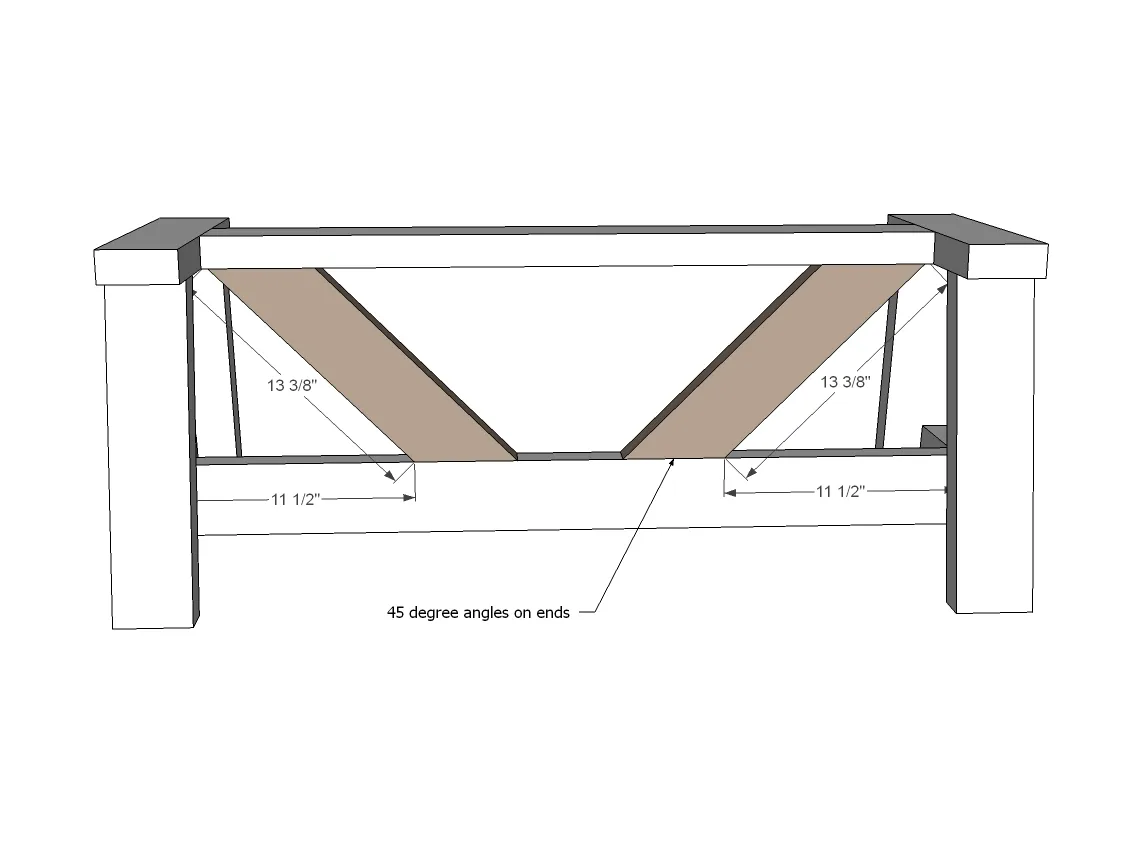
- 2 – 2x4 @ 13 3/8” (both ends cut at 45 degrees off square, ends ARE parallel)
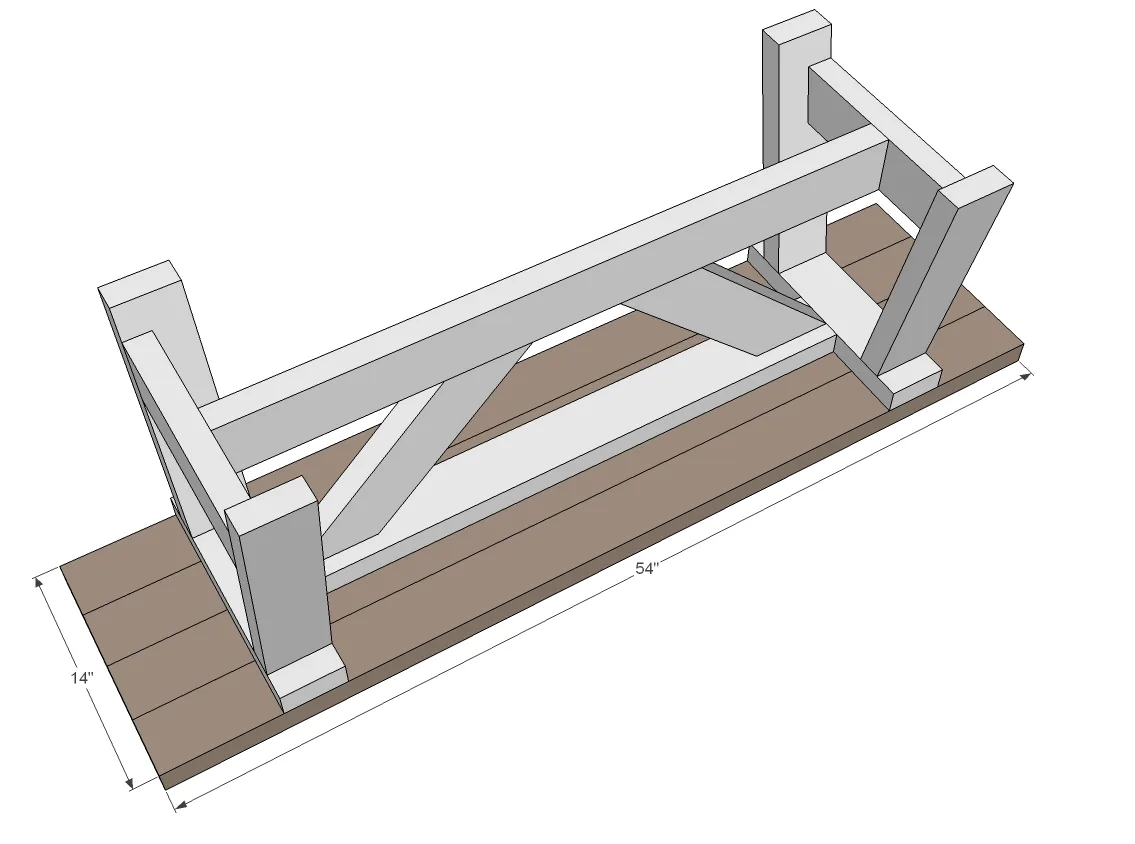
- 4 – 2x4 @ 54”
- measuring tape
- square
- pencil
- safety glasses
- hearing protection
- kreg-jig
- drill
- compound miter saw
- sander
- countersink drill bit
Step by step
Build two ends as shown above, using screws to attach. They are identical.
Alternative method: Brook used the Kreg Jig on 1 1/2" setting with 2 1/2" pocket holes.

Now add the stretchers, for the bottom, use the 2-1/2" screws.
For the top, Kreg Jig is recommended to attach, but alternative method is to "toenail" screws in at an angle. The top will be reinforced with the seat boards as well.

And then the cross supports. Attach through the top with 2-1/2" screws.
For the bottom, either use pocket holes or the toenail method. For the toenail method, screw through the top about 1-1/2" from the angled tip end, straight down.
Finally, the seat boards. Attach from underside with 2-1/2" screws.
NOTE: You can leave a small 1/8" gap between boards for water drainage if desired.
Step 5
Sand the bench well and stain or paint as desired.
Finishing
Sand all surfaces, starting with a medium grit and finishing with fine. Wipe off the dust, fill any holes or gaps with wood filler, and sand smooth once dry. Apply primer if you're painting, then finish with your choice of paint or stain and seal with a durable clear topcoat. For outdoor projects, use exterior-rated primer, paint or stain, and sealer so the piece stands up to the weather.